Household Repairs
There’s been some more repairs going on here recently. An old cupboard was dismantled and the wall behind was in a rough state and had a large foam bulge where there has previously been a vent. So the best option was to bring this part of the wall up to the same level as the rest of the wall.
Some battens were screwed to the wall and plaster board was screwed to that, making sure the screw heads were below the surface. A socket back box was added to replace a very old socket that was there. For that I drilled the corners and scored diagonal lines and along each size. The resulting triangles were knocked out with a hammer and the box pushed into place. There wasn’t quite enough space behind so the wall needed chiselling a little. The junction of the boards had a mesh tape applied. This helps the plaster stick and re-enforces the joint.
It was the first time I’ve plastered anything myself, so I’m bought a pack of ready mixed plaster. This wasn’t too hard to use and mostly went on smoothly, some places I sanded back and gave a second coat before painting.
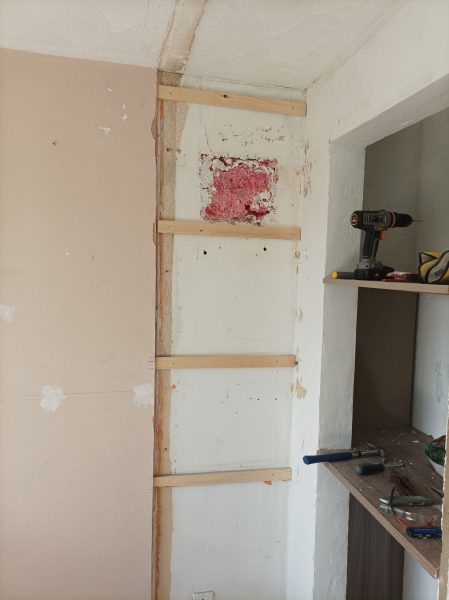
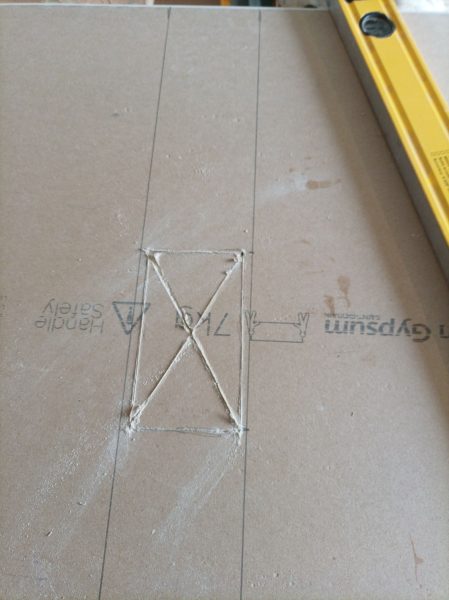
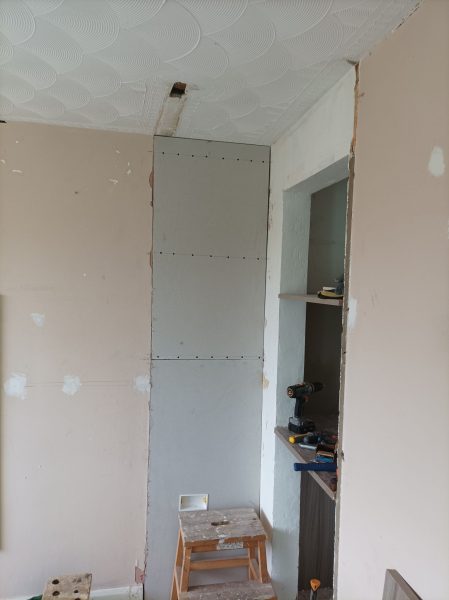
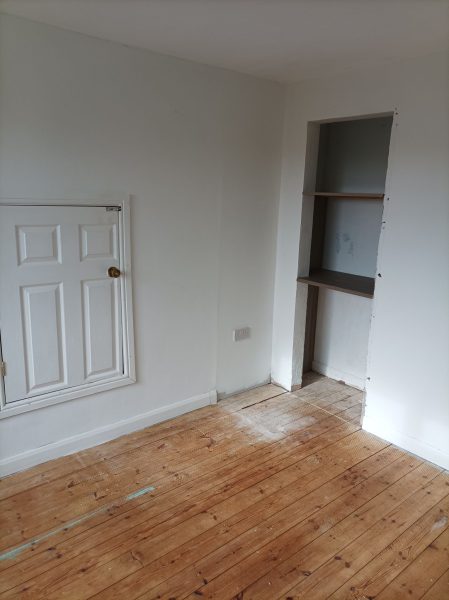
The skirting board still needs adding and some trim around the alcove, but so far I’m pleased with the results.
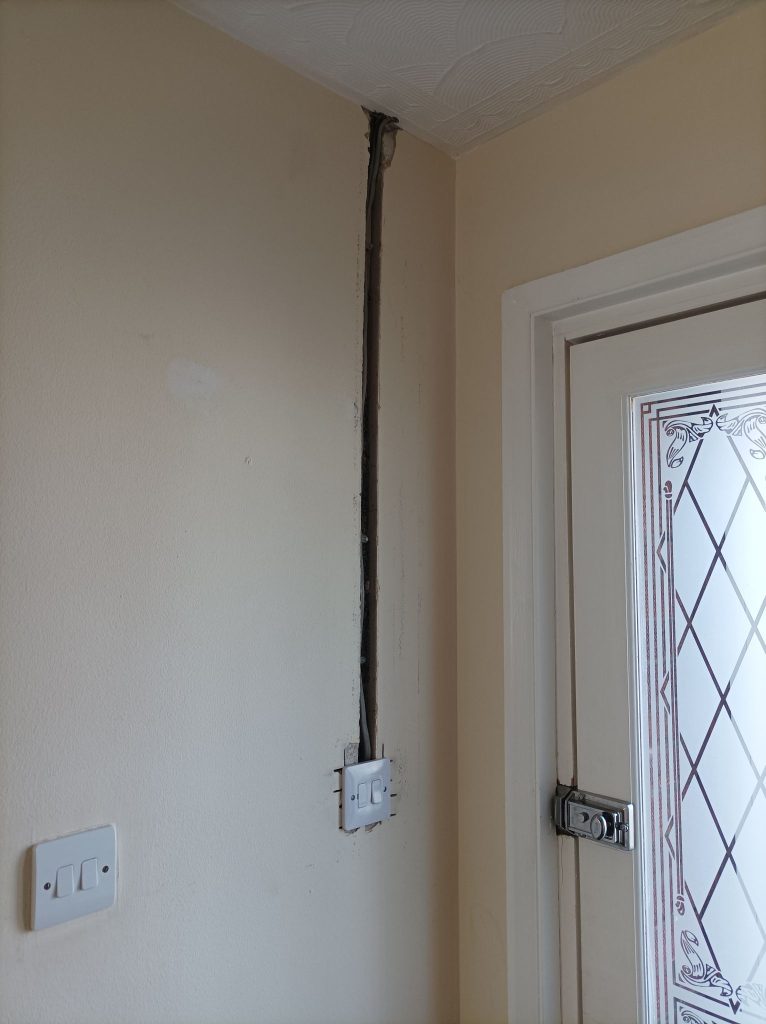
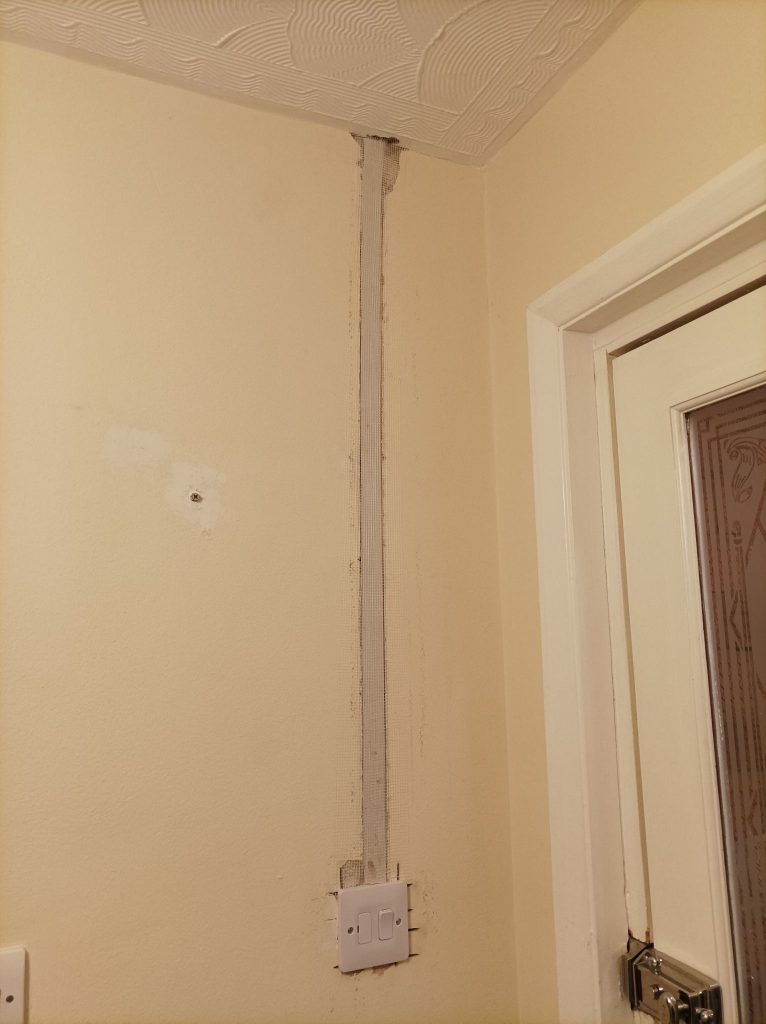
Given the success with the first repair, I decided to tackle a second repair that we’d originally planned to outsource. We are replacing our front door and moving it back to the original position. This means that a socket and light needed moving and the electrician had done a good job of chasing the walls to fit the new cables. To cover the wires, I cut some thin strips of plasterboard. I’d picked 9mm but in places this was too thick, so I had to cut notches in the back. A 6mm board might have made my life easier. A grab adhesive was used to stick the board in to place. On top of the board, mesh tape was applied. Not plastered this yet but hoping it will go as well as the other room.
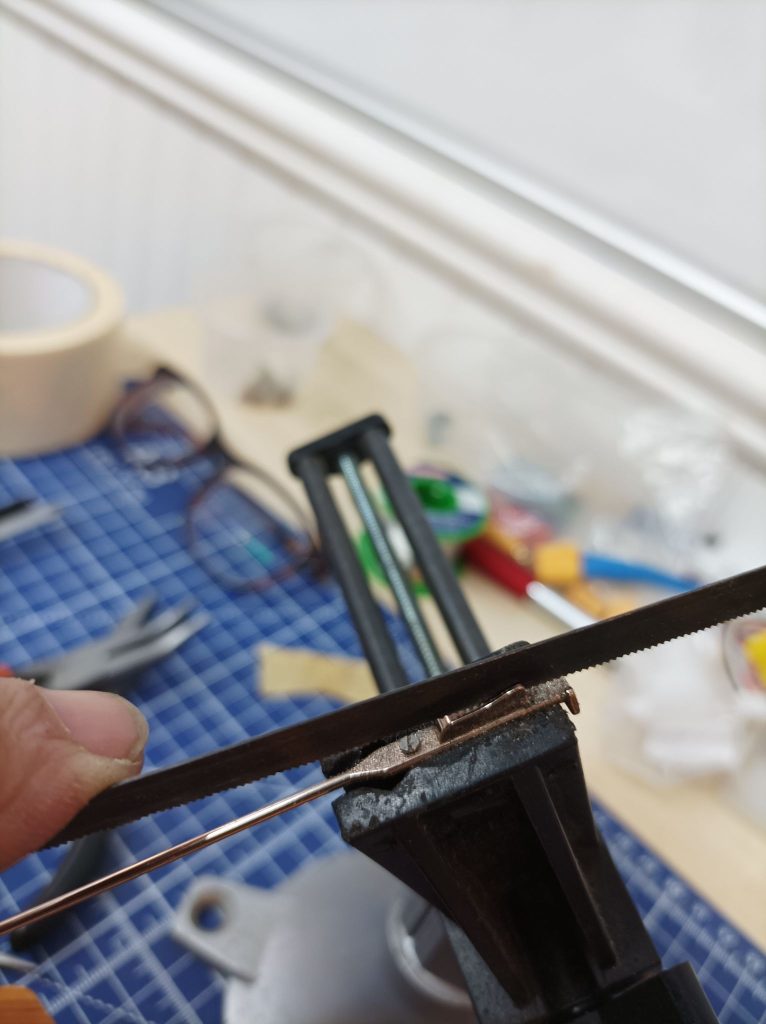
The final repair was totally different. The leg of some glasses had got twisted, ripping the metal. The design of the joint was to have two thin connectors rather than a single thicker one. So the first challenge was to find some suitable material. I found some brass sheet which was hammered thinner so it would fit in the slots. After checking the hole size with the rear end of the drill, I drilled 2 holes in the sheet and then scribed the shape to be cut out, which was just done using snips. After removing the metal core from the leg, two thin slots were cut using a junior hacksaw blade. The brass was soldered in place using the drill bit to make sure the 2 holes were aligned. The metal and solder was filed smooth with some needle files.
The last challenge was to refit the screws, these were a bit tricky and I lost a couple of them as they were “pinged” across the room from the tweezers. So a box of replacement screws was bought. So not a totally free replacement but I suspect the screws will get used in other repairs and projects.
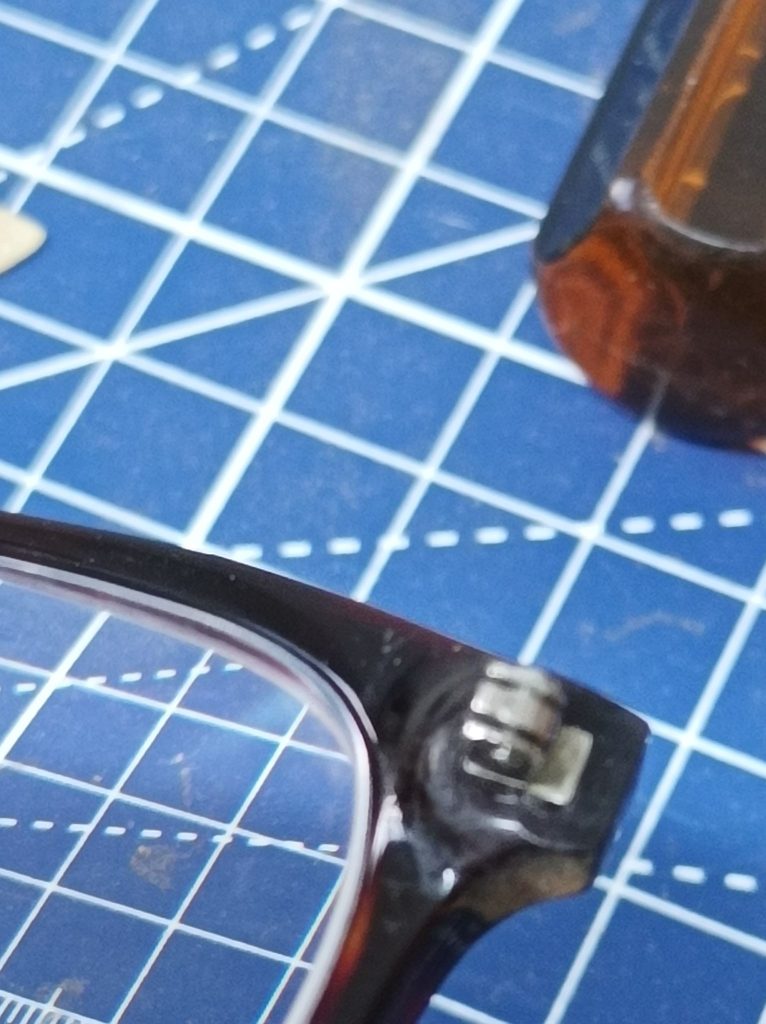
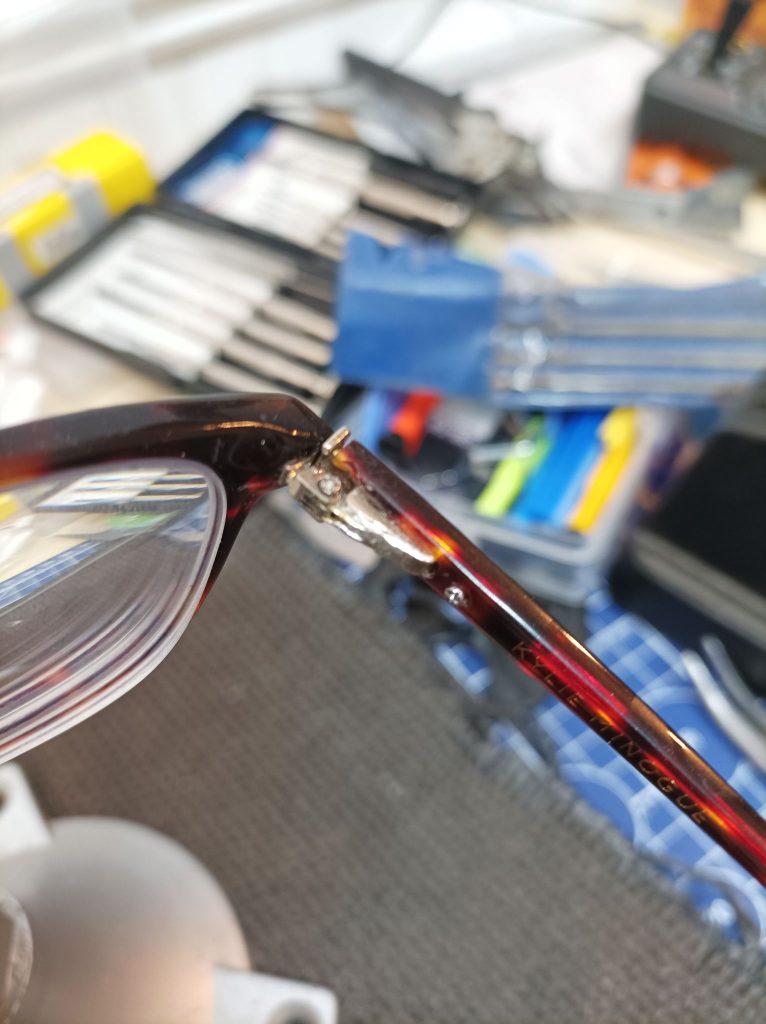
It wasn’t possible to get the hinge to spring quite the same as the other side, and the joint does feel a little flimsy due to the original design. But hopefully they will last long enough until the users prescription changes again.
 Posted in: Repairs




 Metal sculpture in brass, mounted on an 1800s French Coin