

.Net NanoFramework on a Cheap Yellow Display
I’ve been working with microcontrollers for some time now with a variety of different languages but mostly it has been C and Micropython. And across my career I’ve been working with an even wider range of languages but most recently I’ve been using .Net and C# and enjoying the platform.
So I’ve been on the lookout for a microcontroller that would support C# development. I’ve been aware of the Meadow range of boards from Wilderness labs but their boards are quite expensive with the Meadow F7v2 Feather currently being priced at £41. So when I saw the “cheap yellow display” my first thought was, I wonder if it can support .Net? So I did a web search for microcontrollers and dotNet and discovered the .Net nanoFramework and that supported the ESP32 which was the brains behind this board.

Compiling the firmware from source
TLDR: You don’t need to do this.
I did try following the instructions for building the firmware using a dev container and this worked once I’d tidied up CMakePresets.json file which referenced some community builds that were not part of the nf-interpreter repo.
After successfully building an image for ESP32, I was looking for how to install it onto the board when I found the “Nanoff” or nanoFramework Firmware Flasher. Reading the documentation for this suggested that I could flash some “stock” images. So I tried this and it worked first time, so I abandoned the image I’d previously made.
Extensions
Once the board was flashed with some suitable image, I turned my focus to getting some code to compile. There are extensions for Visual Studio Code and for Visual Studio. I tried VS Code first and struggled to get the code to build. The tool was missing Nuget.exe which I installed but then the build process didn’t seem to like the samples I was trying.
So I swapped to Visual Studio and found the error messages and experience a bit more helpful. Apparently the sample was using older libraries than the firmware supported. So after updating all of these I got it to build and deploy. There’s an extra window to see and select the device. And it’s worth turning on the extra info to see what’s happening with the deploy. There’s also a tool to get the device capabilities which will show you what is installed in the firmware. There are a number of core libraries that are installed with the firmware, the rest are installed via package manager as for a regular .Net application.
You can also set breakpoints in the code and step through it line by line. Although I found that adding a few “Debug.Write” statements was also very useful.
Blink
Getting the blink example to work was pretty straight forward, I found the pins for the inbuild LED on CYD repo which I’d by this time discovered was created by Brian Lough (pronounced lock) who I knew for his simple but excellent “Power BLough-R” which lets data through a USB connection but not power. Anyway, the pin number for the CYD RGB LED were there in the schematics but also in the example code.
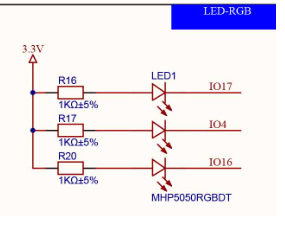
So after getting the basic blink to work, I ported the “LED Test” code to C#.
Display
Having got blink to work, I presumed that I was past all of my compilation and deployment issues. But this turned out not to be the case. My first problem was that the core display class was one of the libraries that is supplied by the firmware. So I was just about to head back to the dev container to compile a custom firmware, when I spotted that there was already a “ESP32_GenericDisplay_REV0” referenced in the repo for nf-interpreter. So I tried the Nanoff tool with the -target parameter to install that firmware on my board. Which after a reboot, then showed the display library when I inspected the hardware.
The other thing I needed to work out was what kind of display it was. Again Brian’s repo came to the rescue with both good samples and a configuration file showing all of the the pins for the display. It is a ILI9341 TFT display with backlight and SPI interface. These are popular with makers as they have a good size and resolution. Helpfully there was also a ILI9341 driver in the graphics repo for nanoFramework so I didn’t have to resort to reading the data sheet to send the right initialisation commands. To get the SPI bus configured the nanoFramework.Hardware.Esp32 library is needed as this allows the SetPinFunction to be used to configure the pins for the SPI bus.
Some of the samples drew coloured blocks on the display. I started with one of those as a base and eventually found the correct size and orientation settings.
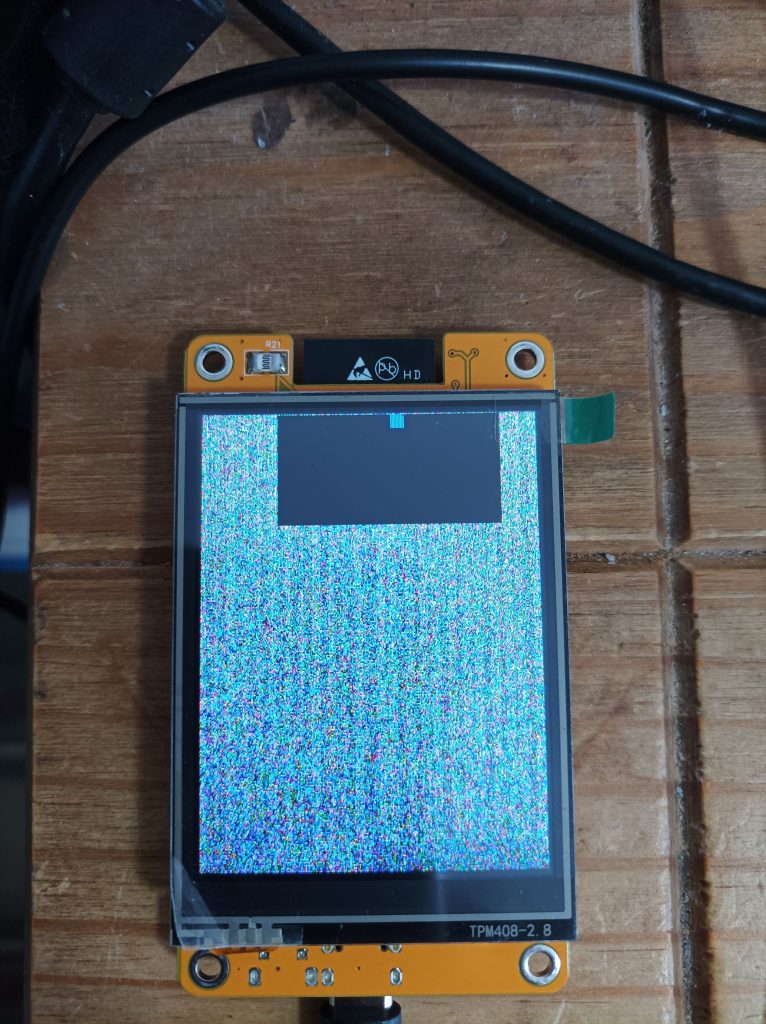
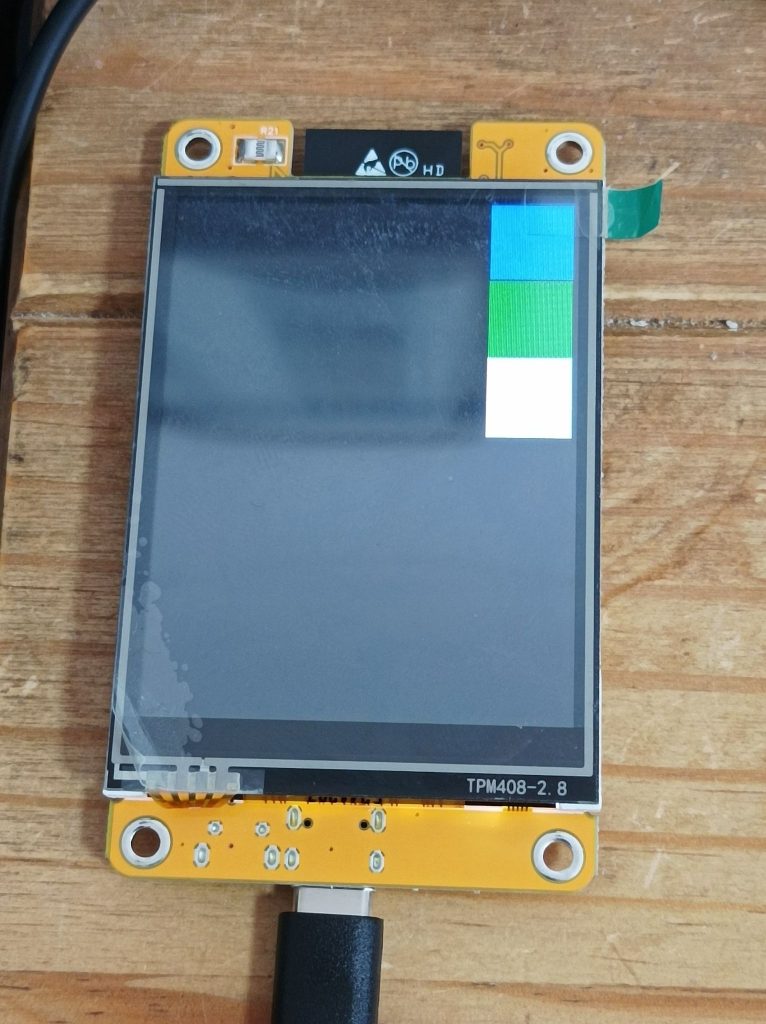

Whilst experimenting, I managed to lock up the device a couple of times by reading beyond the end of an array and by allocating too much memory. The solution seems to be to press and hold reset then unplug and replug the hardware, you can then resend a new image which hopefully doesn’t lock up. I’d since discovered this was throwing an exception so it might be that these can be wrapped with a try catch block to avoid such problems.
But eventually I got the board to display my blocks in full screen.
For my project, I wanted to write some fonts to the screen, so I took at look at the “Primitives” samples. These all created a screen buffer as a bitmap and wrote to it. However when I tried this, I hit the out of memory exception again, so a different approach was required. In the M5Stack samples, I found the answer. There was a simple sample that used DisplayControl.Write with some text and a font file. The M5 boards are a more complete solution of an ESP32 and display and I would expect a similar approach to this one for the CYD would also work for these.
Given that I typically work on backend systems, I’ve not actually used a resource file for developing for many years, possibly going back as far as my final year uni project which was a battery charging test rig with a software UI for controlling it.
The resource file points to a font file which I just copied in from the M5 project. And it displayed on the screen but with a couple of key issues. Firstly the font size was a bit small and the carriage returns were not being correctly recognised. But most importantly, the font was mirrored.
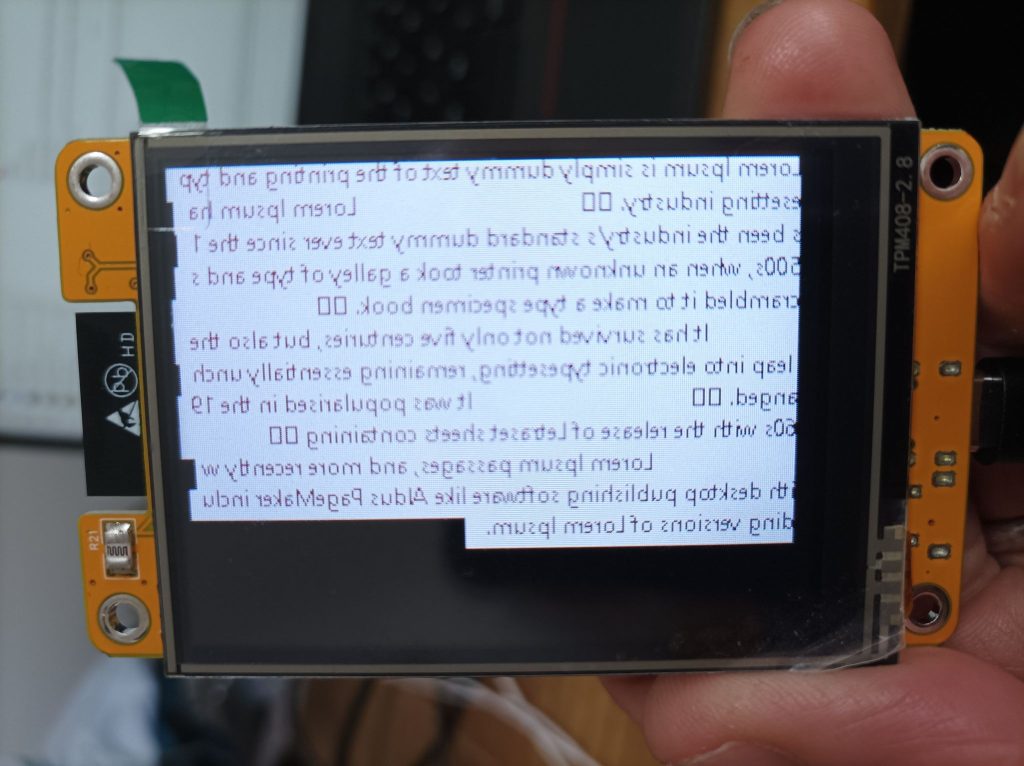
After a lot of head scratching, I made a copy of the driver code and moved the MADCTL_MX entry from to OrientationLandscape. And to fix the CR issue. I simply broke my text into multiple segments and wrote each one out in a different position, using the font height from the M5 example to create my line spacing.
The fonts were loaded from the resource as a tinyfnt file. The samples reference the “Tiny Font Tool” which generates these tinyfnt files. It is possible to control which letters/numbers/symbols will be available to control the size of the file. So I created font files using different sizes and saw how those displayed on the display.
DisplayControl.Write also didn’t honour my colour encoding which was BGR rather than RGB so I wrote a little function to convert the colours.
Finally, I wanted to display a logo. So I tried creating a bitmap from a JPG resource of a 40×40 image. But that blew another memory exception. So I copied an idea I’d seen in a different sample and generated a byte array with my image using Image2CPP and a loop to draw the pixels to the screen one at once. This worked surprisingly well and unless you stepped through the code you couldn’t see it draw to the screen.
Case
Again Brian’s excellent repo has some great examples of cases. I took one that had a simple CYB logos and imported the STL files into FreeCAD. To make this editable needs a few steps but there are several youtube videos with examples. The only “gotcha” as that the refine shape menu is off a “copy” option in the current version of FreeCAD. After importing, I padded the logo to refill the holes and use the refine shape option again to close the gaps. I created my own logo as a small square so I could print that in a separate colour. I found the wall sizes of the case a little thin so on my printer this meant that parts could easily snap off. So if I was to reprint these I’d make the walls a little thicker. I only discovered this after a 5 hour print so not so keen on another revision.
What’s next
I’m afraid I can’t share the final result just yet as it is a surprise for some people. So once I’ve shipped the board then I’ll post some more details.
For the purpose of the project, I was working on, getting the display to work was sufficient. But there’s also a touch sensor on the screen so it might be good to get that operational. I’d also like to get my notes in order to send a PR back to Brian Lough and the CYD repo.
 Posted in: Inspiration




 Metal sculpture in brass, mounted on an 1800s French Coin



Nice work!
I have done about the same work as you have and Blinky is working. But DisplayControl.Initialize just hangs for me and nothing on the display…
Would you consider pointing me in the right direction or sharing something soon :)
const int backLightPin = 21;
const int chipSelect = 15;
const int dataCommand = 2;
const int reset = -1;
const int screenWidth = 320;
const int screenHeight = 240;
Configuration.SetPinFunction(12, DeviceFunction.SPI1_MISO);
Configuration.SetPinFunction(13, DeviceFunction.SPI1_MOSI);
Configuration.SetPinFunction(14, DeviceFunction.SPI1_CLOCK);
DisplayControl.Initialize(new SpiConfiguration(1, chipSelect, dataCommand, reset, backLightPin), new ScreenConfiguration(0, 0, screenWidth, screenHeight));
Looking at my notes, I’ve got Reset = 4
Thank you for the fast reply! No difference though regarding reset pin.
I had to use GraphicDriver graphicDriver = Ili9341.GraphicDriver;
and also had to enable the backlight manually for some reason:
GpioController gpio = new GpioController();
GpioPin backLight = gpio.OpenPin(21, PinMode.Output);
backLight.Write(PinValue.High);
Now I get pixels when doing DisplayControl.Write so I’m back on track!
Daniel did you see the examples from:
https://github.com/Workshopshed/ESP32-Cheap-Yellow-Display/tree/main/Examples/NanoFramework
Nice! Thanks! I did use that link some weeks ago for testing MicroPyhton but did not see the NanoFramework!