

Another brick in the wall
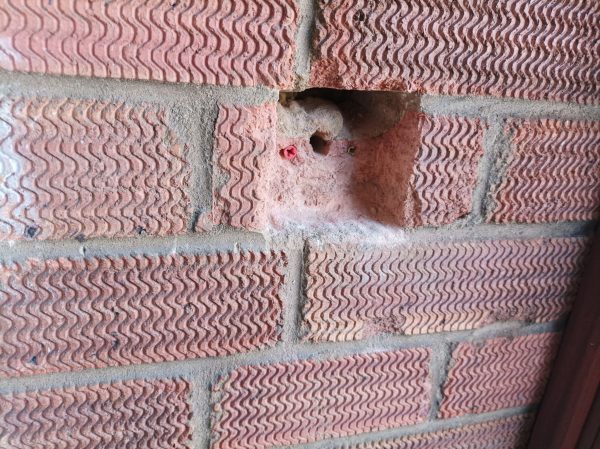
A little DIY job this weekend in preparation for a new front door. The door location is moving slightly so a light switch which was previously on the inside will be on the outside. We had an electrician to move the switch earlier in the month, but that left me with a brick with a switch shaped hole in it. My first problem was tracking down some bricks with the same wavy pattern.
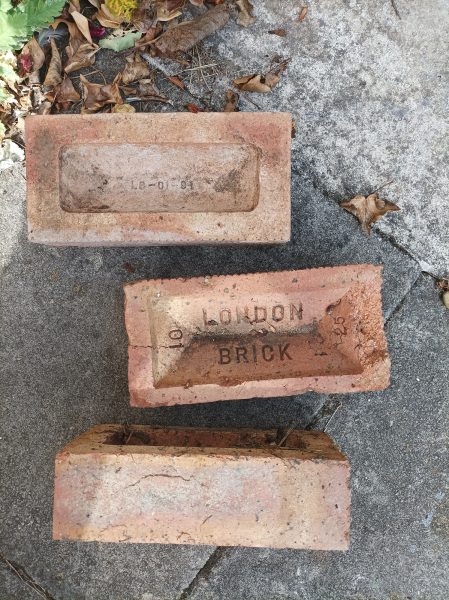
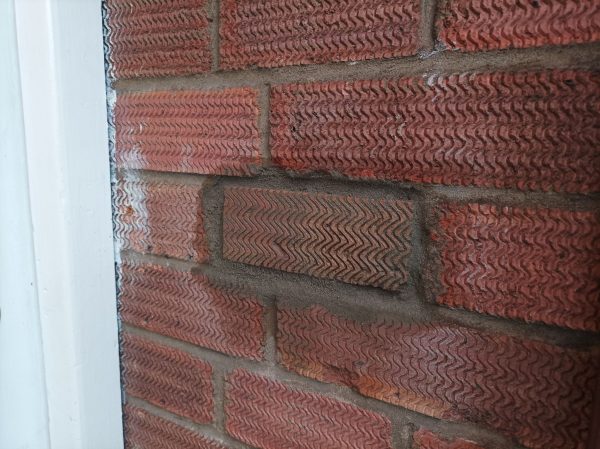
A quick internet search turned up some of the right bricks at the local builders merchant, described as LBC Rustic Antique Brick. But I also tracked some down even closer to home, they were propping open the workshop door. The bricks were marked London Brick with various code numbers. Interestingly the wavy pattern was only on two of the sides, the other two sides were smooth.
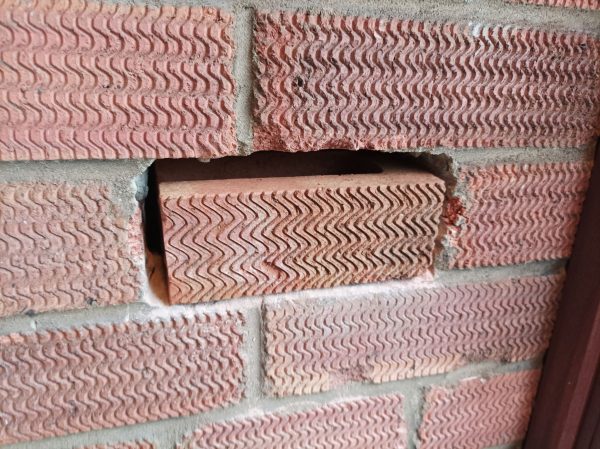
I picked the one that had the best colour match and used a diamond tipped blade on the angle grinder to trim it to size. Which was surprisingly easy despite the blade in question being from a really cheap brand.
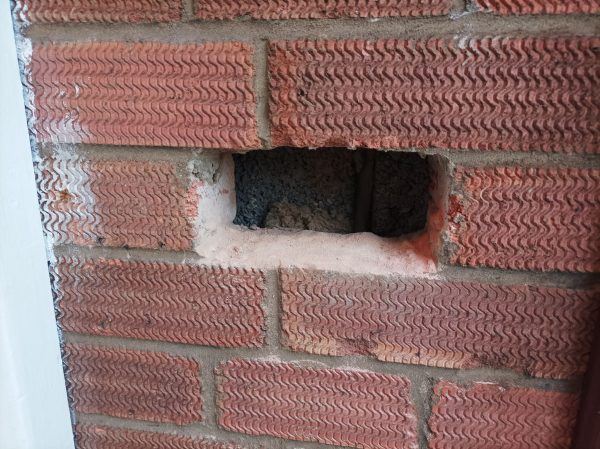
To remove the old brick, I drilled around the brick through the mortar with an 8mm masonry bit. The used the hammer mode the SDS drill with a chisel bit to join that up. The brick was chopped up with the chisel to make it easier to get out. Once all the brick and mortar was out, I test fitted the new brick.
According to the initial research I’d done on the internet, no education or thought was needed for adding a brick to a wall. But I ignored this and instead did a bit of watching/reading and the general recommendation was to ensure that the mating surfaces were damp before applying the mortar. So I sprayed my brick and the hole in the wall liberally with water, before applying mortar to the base of the hole and the ends and top of the brick.
After smoothing off the joints, I used a stiff brush to remove the mortar that had got stuck in the texture of the brick. I’ll see how it goes when it is dry, it may need a going over with a wire brush.
The recommended drying time is 24 to 48 hours. If the conditions are warm the recommendation was to cover with a wet sack. But for me it was a damp autumn evening so I don’t think there is anything to worry about.


 Metal sculpture in brass, mounted on an 1800s French Coin


