Pin Badge Stand
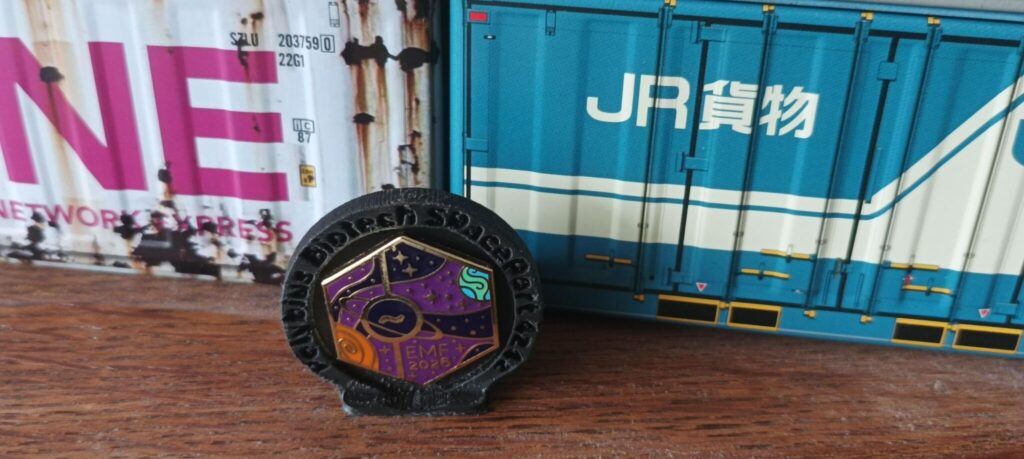
Last month, I visited EMF Camp and took home a commemorative pin badge, as I don’t have many opportunities to wear such an item, I thought I’d make a “simple” stand for it to be mounted on.
I started with a simple circle and added a recess for the badge and a hole for the pin. And then added a plate and the back and some buttresses to support the upright. I printed this out and although it did work there were a few things to fine tune. And I also realised it looked a bit like a portal. So for that reason I decide to style it with the text from the Null Sector Nightclub from the camp. This had run with the space theme by building a whole SpacePort in the corner of the field. So “Polybius Biotech Spaceport 4242” was selected as the text along with the Raleway font.
I had done text in FreeCAD before but this was more challenging as it was on a curve. I tried some web tutorials but got stuck as those were from earlier versions. But after some advice from ConcreteDog from Source magazine, I decided to do the text in InkScape. A couple of tutorials came in handy, firstly importing from InkScape and the rotation.
My first attempt did nothing as the text needs converting to vector shapes before importing. I also tried some simple manipulation of the letters after importing, such as moving and rotating. But that broke the ability to convert them to a sketch. So I fine tuned things in InkScape first.
- Install font into O/S
- In InkScape, Add lettering.
- Put on path (a circle in my case)
- Convert object to path
- Export SVG
- Swap to FreeCAD and import SVG as objects
- Group objects
- Rotate to desired plane using Draft Workbench
- Also in Draft Convert to Sketch
- Use Part design Workbench to Pocket the Sketch and hence cut the lettering out.
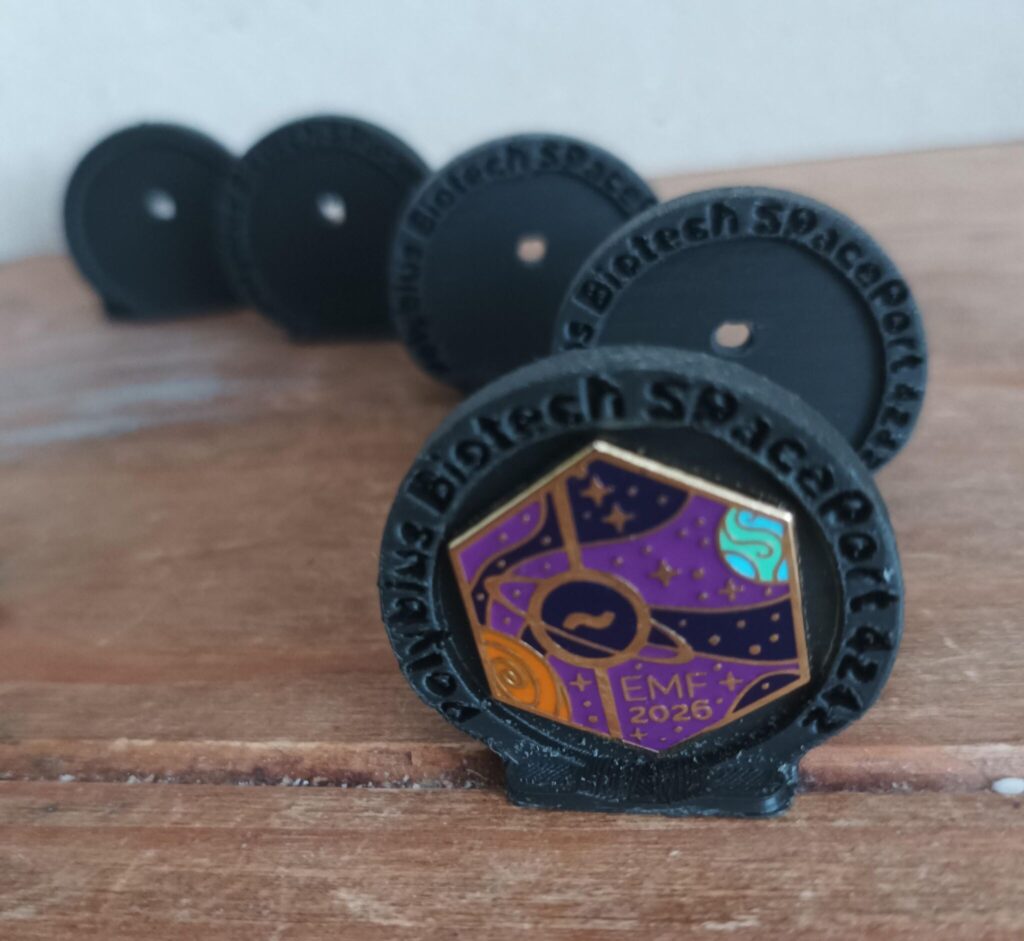
My second challenge was that the metal badge made the holder front heavy and combined with some curling of the print this caused them stand to fall over.
So I added a little foot on the front and added weight to the back by thicken all the parts and adding large fillets.
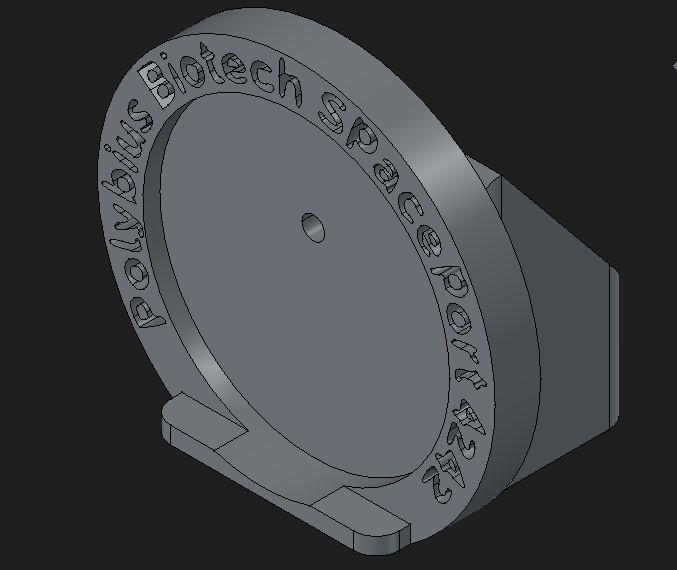
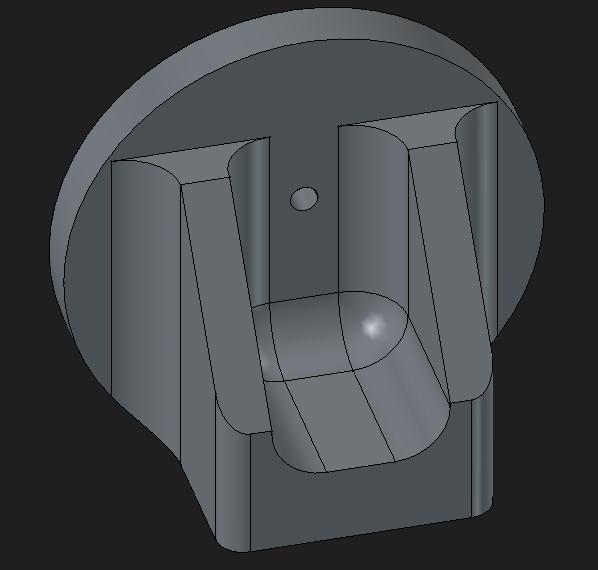
And then when printing, I used a brim to reduce curling and 60% fill to increase the weight. Due to the small lettering it needs to be printed with a small nozzle and layer height.
Downloads
License Creative Commons – Non Commercial – No AI
Freecad model – Badge Holder
STL model for printing – Badge Holder
 Posted in: CAD
Tags: 3d Printing, FreeCAD
Posted in: CAD
Tags: 3d Printing, FreeCAD




 Metal sculpture in brass, mounted on an 1800s French Coin