Wall framing and Door
The roof tiling for the new Workshop was completed last month and had proven to work well in both hot and rainy weather. I then took a break from building for EMF Camp and for a family vacation.
The next step was to install some framing to support the boards that are the first layer of the outer wall. Following on from the challenges drilling the bricks, I decided to fill the holes in the bricks with concrete and use screws to fasten the wood to the floor. The plastic sheet from the concrete pour formed a damp proof course under the wood. As the building is already supporting itself, only minimal framing was needed and a single upright was added between each post.
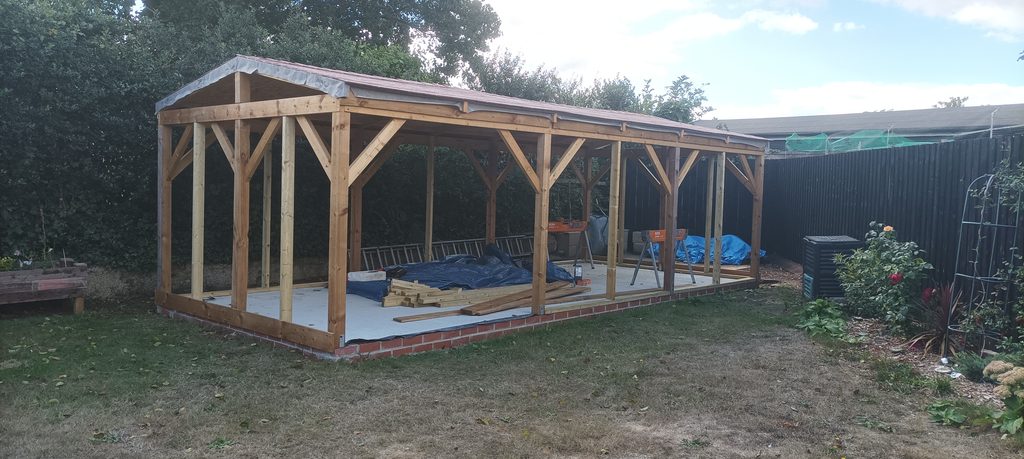
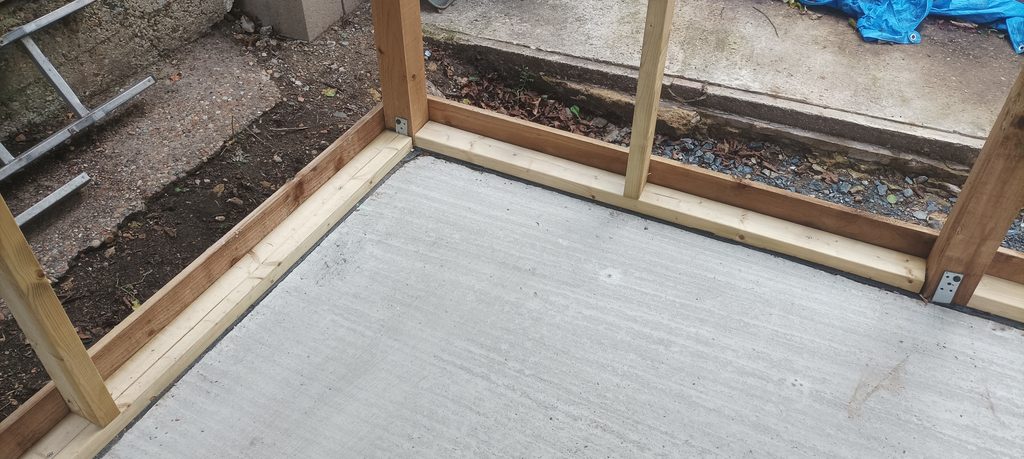
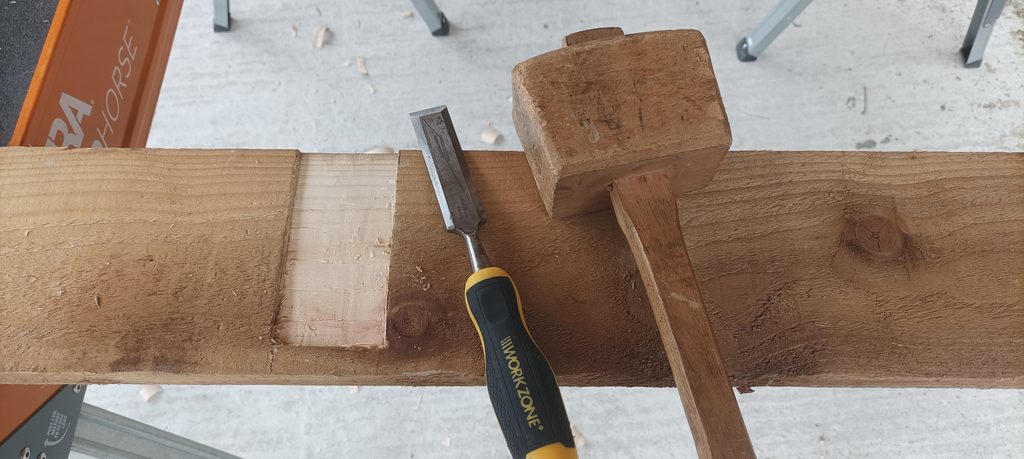
To form the lower part of the wall, a treated plank has been fitted so that the OSB boarding is raised from the ground. As the posts had large metal fixings, to get these planks to sit flush required some cut-outs which were done using a saw, chisel and mallet. the last few of these planks are on order but you can see them below in the back corner. These were screwed to the posts using exterior grade screws.
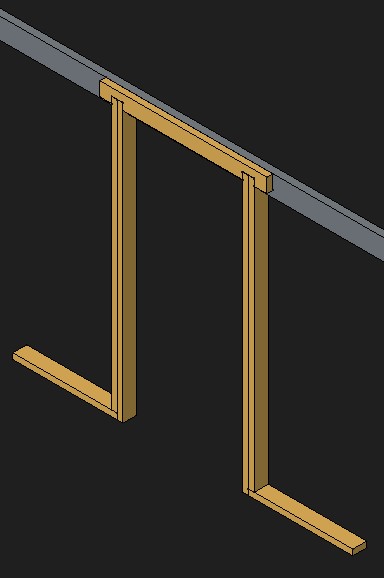
A gap is left in the framing for the door. This will be made to fit the large gate donated by the neighbours. To provide extra support the frame is doubled up and a top piece with cutouts will lock over the tops of these and screw to the frame. The uprights will also be screwed to the frame. I’m still not sure what I’ll do at the bottom of the frame but I’m hoping to find a low threshold solution which is also rain proof. Eventually, a step will be built to get into the workshop but I want to be able to wheel trolleys and carts in and out.
 Posted in: Workshopshed4




 Metal sculpture in brass, mounted on an 1800s French Coin