

Welding Cart
I’ve been intending to build a welding cart for some time and even got as far as cutting up some metal before leaving London. Whilst spring cleaning, I also realised I could use the spare metal from the new gates and from the bench re-enforcements. These had been bought as 4m long pieces from F.H.Brundel which was the cheapest way to get the needed material at the time.
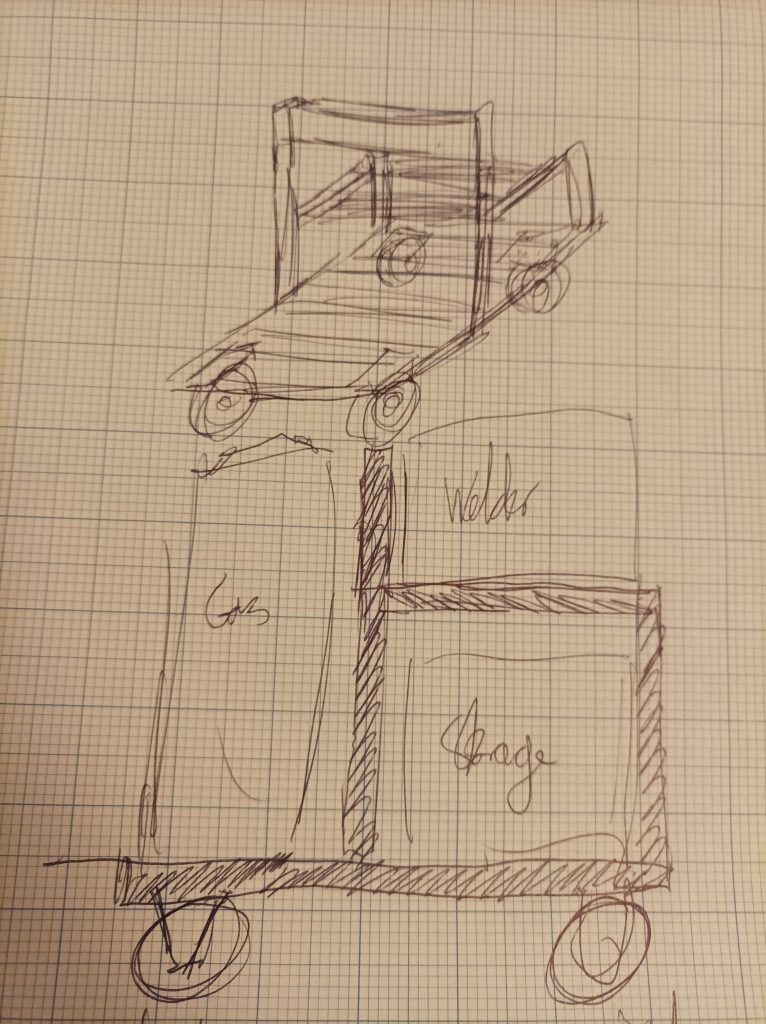
So the cart was designed around the parts I had available, 25mm angle, 3mm plate and some rectangular tubing which in a prior life had been ladders and furniture. I also had some small 15mm square tube but that didn’t get used. I had bought some large casters too, two fixed and two swivel, an arrangement I took from trolleys I’ve used in DIY stores and other places.
I also didn’t have a gas cylinder to check against, so I looked up the sizes and those seemed to tally with my memory of previous cylinders. I’ll likely add some additional support once I have a bottle to size against.
So I laid out some of the metal to judge the size against the wheels and the welder. And built the base frame from angle iron and flat plate. The base is pretty heavy duty because of the plates but this should help with stability. I used 45° mitre joints on the corners and the plate was welded under the frame so the weight of the rest of the structure is supported on top. Having no gas meant that I was stick welding the project and my first experiments showed that I needed the practice. Thanks again to everyone on Mastodon for helping with feedback and advice.
The wheels were to be bolted on so before continuing, I drilled the mounting holes.
I added tall vertical tubes with a cross bar which will provide support for the gas bottle. Shorter tubes were added at the front to provide support for the welder.

A second frame was made as a platform, again using the angle iron, by this point I had run out of the large plate so one of the cross pieces was a smaller bar. This time the plate was put inside the angle so the weight is supported on the angle. My welding was getting a little better by this point but best not look too closely.

The last step was to weld the frame to the tubes, this proved a little challenging as the frame was a lot thicker than the tube. But again advice from Mastodon friends helped a lot. I intentionally angled the top shelf on a slope so the display is tilted upwards and the welder is less likely to slide off the shelf. Before painting, I did a test fit of the parts.
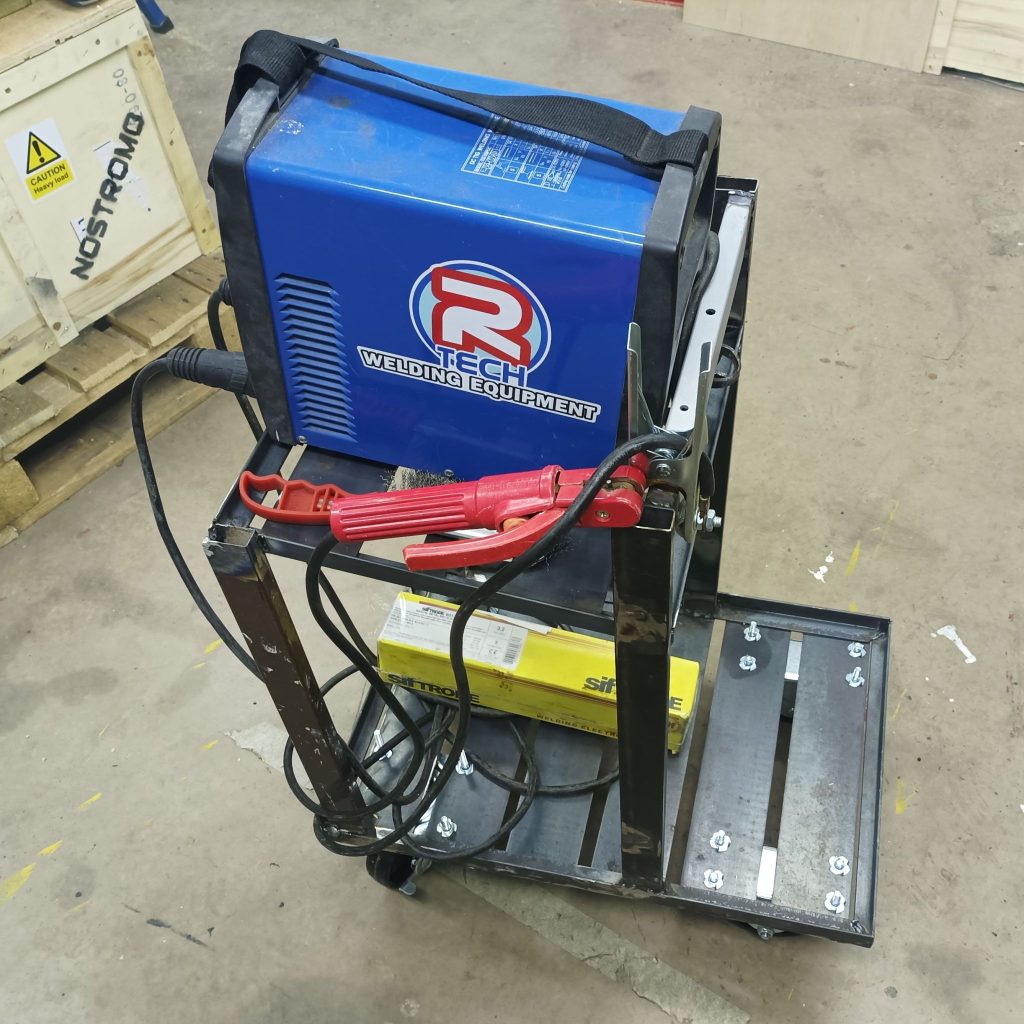
For paint, I’ve used a heavy red primer and a top coat of black. Paint is still drying but will post a photo on social media once it is dry and re-assembled.
![]() Posted in: Welding Cart
Tags: Metal Work, welding
Posted in: Welding Cart
Tags: Metal Work, welding


 Metal sculpture in brass, mounted on an 1800s French Coin


Great to see you’re still building new projects Andy. I am sure it will inspire others to have a go.
Thanks Claire