

Tiling a shed roof
When I was designing the new Workshopshed, one of the key decisions was what to put on the roof. Previously, I have put felt on the shed roof, with a layer of stone free felt (underfelt) followed by a top layer. This provides good water proofing and is relatively cheap and easy to to use. But it does have a shorter lifespan and will need to be periodically replaced. The original workshop also had a big polycarbonate roof window which seemed like a good idea at the time but was a challenge to keep it sealed from the weather.
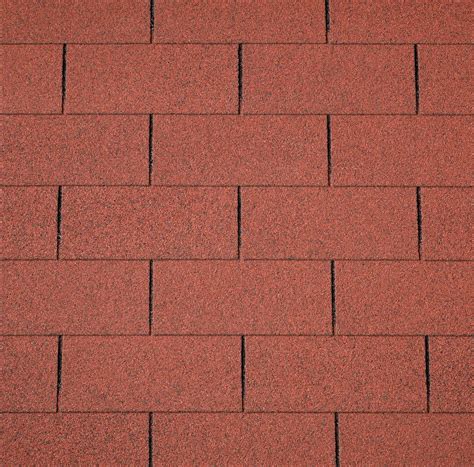
I did find some “felt shingles” which would be in the right colour form my Suffolk barn theme. These are the kind of thing you get on a more expensive kit shed, they have a tile pattern pre-cut into the felt strips. Some of these seem to be re-enforced with glass fibre so should have a slightly longer life than plain old felt. Bit still probably only 15 year before they would need removing and replacing.
I wanted something more resilient so I started looking at tiles. Traditional clay tiles require a roof pitch of around 30° and given my height restriction that would have been difficult to achieve even if I made the walls quite low. And even if I could get the angle the estimates just for the tiles were coming in at £4K.
So my investigation led to recycled polymer tiles, a longer life expectancy than felt with a price less than half of clay tiles but probably 3 times that of felt. Given that I didn’t want to be replacing the roof in my retirement, this seemed like a sound investment.
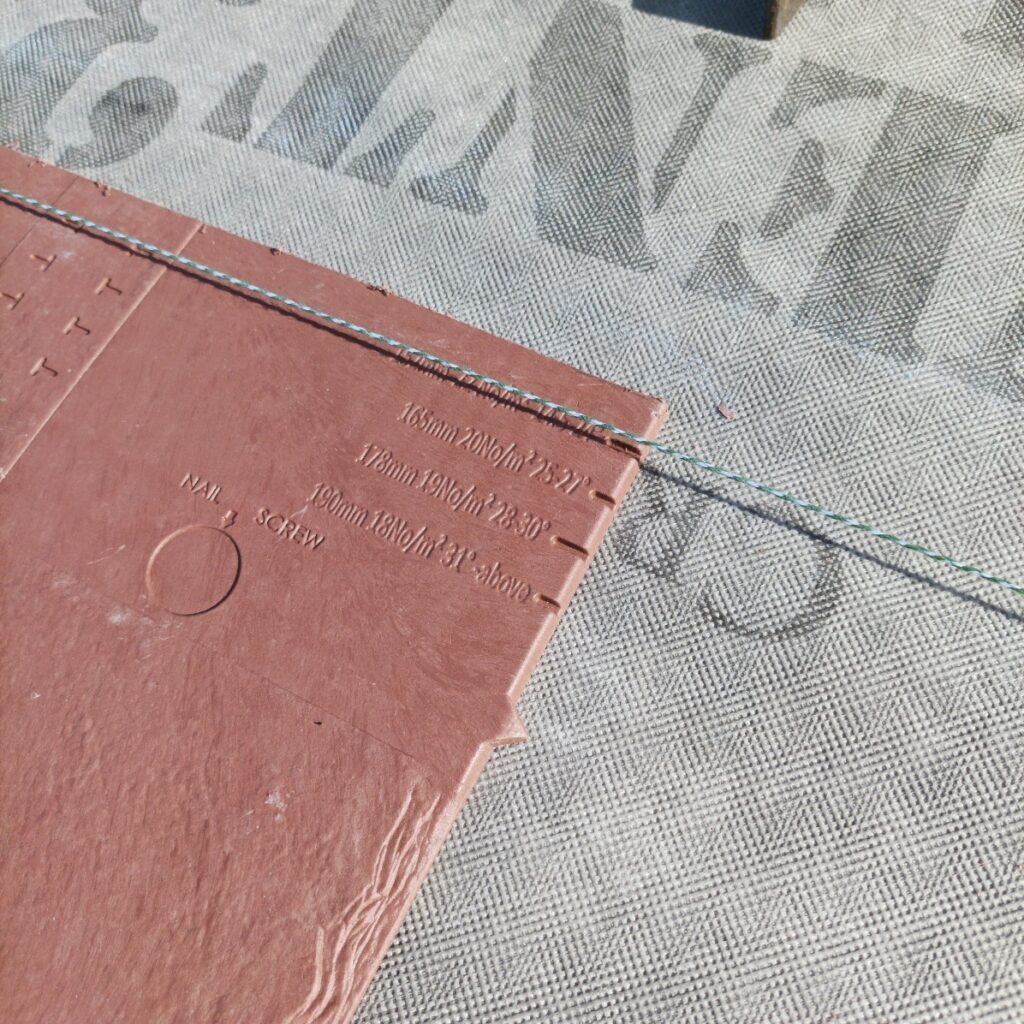
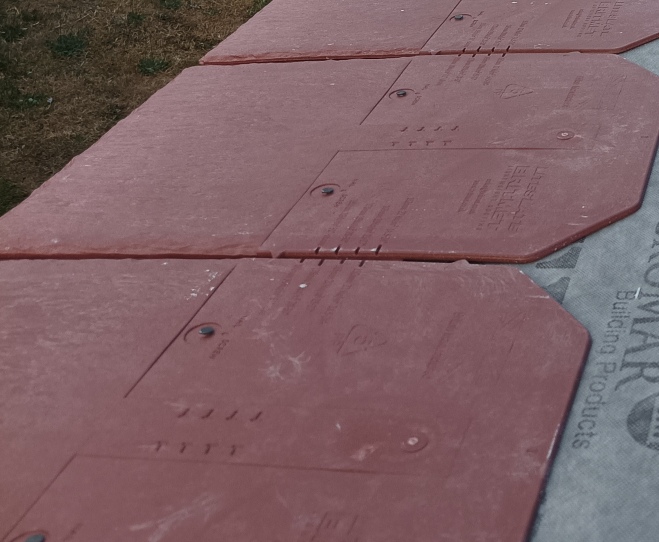
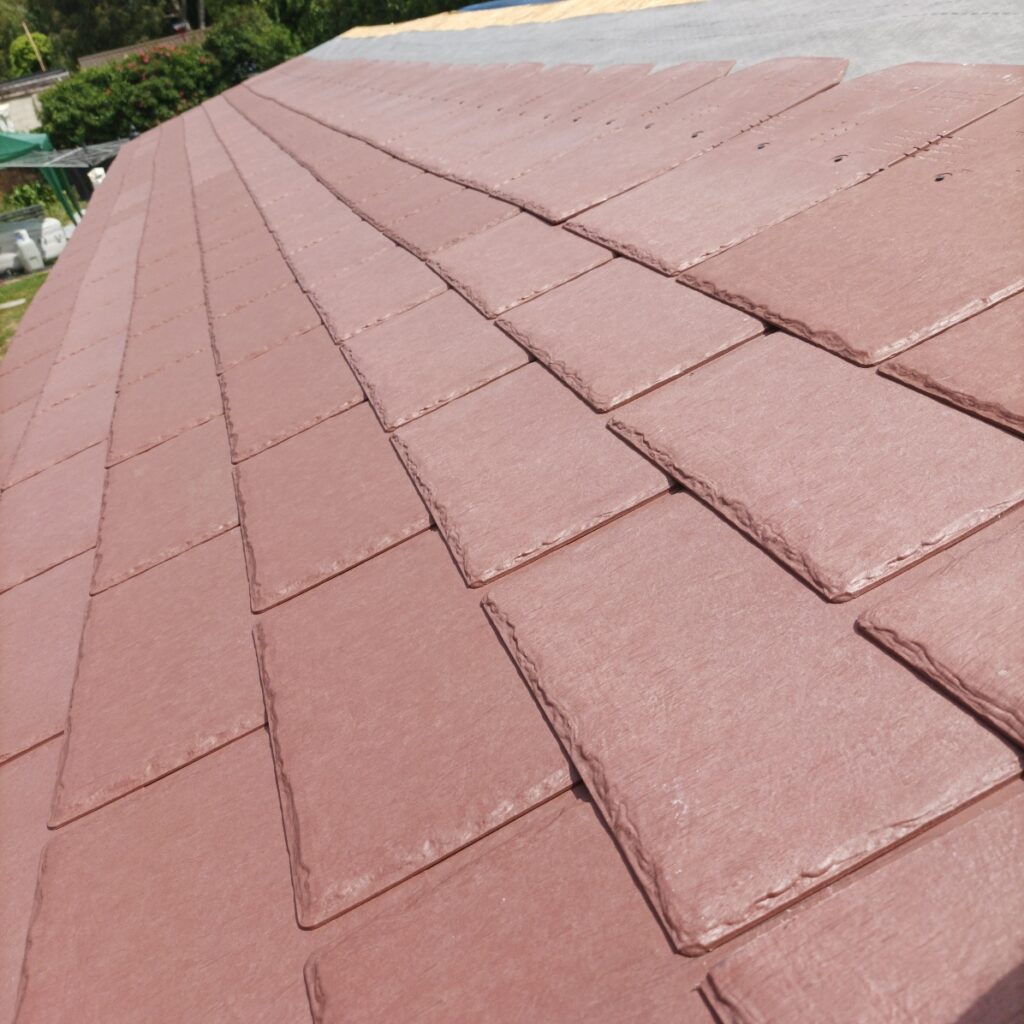
Crucially these lightweight tiles would work on a low pitch roof. My initial calculations had this at 15° but it turned out closer to 12.5° after allowing for the max height, thinkness of rafters and door/wall height. There were a number of different manufacturers and colours but I ended up picking one called LiteSlate Sunset which could be supplied by a local distributor.
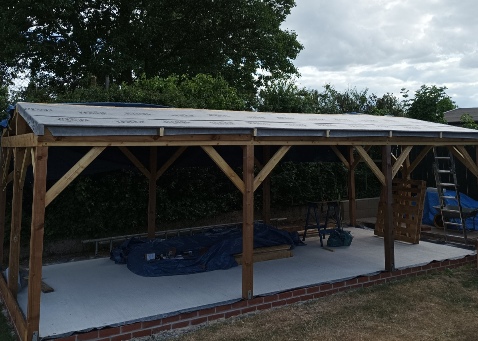
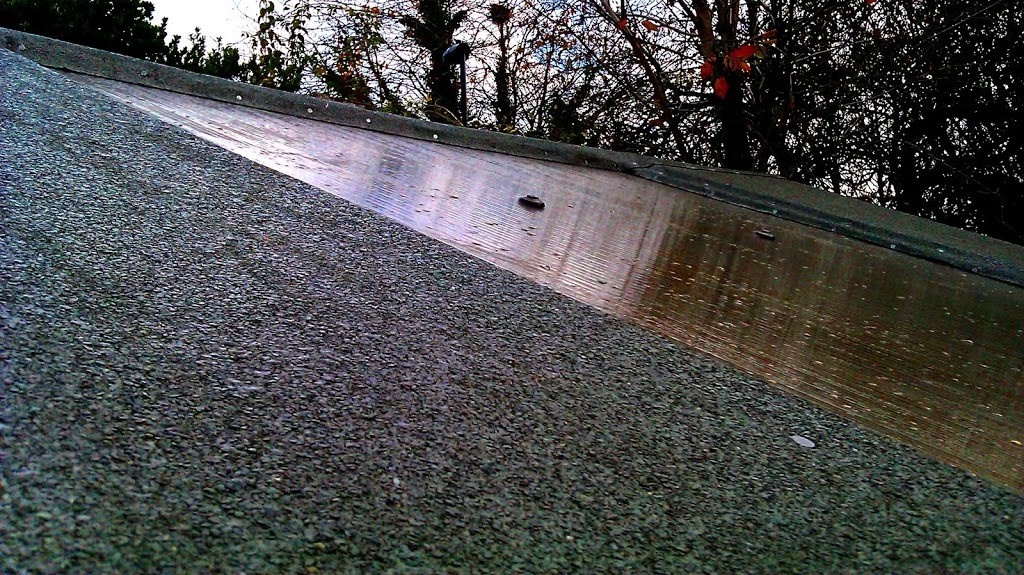
Before tiling, the roof was covered with a layer of waterproof membrane. This provides extra protection below the slates. The first layer slates at the eaves needs cutting short to allow the later layers to lay flush. I experimented with different cutting techniques but my extra sharp pull saw seems to do a good job, so I’ve been using that for this step and the cutting the end tiles to width.
I used a chalk line to keep this row straight with a 40mm overhang for the gutters.These tiles come with a handy set of notches down the side which makes lining them up really easy. There’s also spacing tabs to make the spacing simple.
The next layer goes on top, offset by half a tile width. The tiles can be fixed with nails or screws and I chose to use nails. As my boards were a bit springy, I found it difficult to get the nails started, so I’ve taken to drilling a 3mm hole for each nail. It takes a bit longer but makes life a lot easier once you are up on the roof. Once you get into a flow you can get quite a few tiles laid in a short period.
With the first 7 rows in place. I’ve paused to put the membrane on the back roof section which can then also be tiled. Once that’s done, I’ll put the last membrane over the ridge and finish off the last few rows of tiles and ridge tiles.
Once the roof is a bit more advanced, I’ll start thinking more about the walls and door frame, and taking advantage of pre-cut boards.
![]() Posted in: Workshopshed4
Tags: roof, tiles
Posted in: Workshopshed4
Tags: roof, tiles


 Metal sculpture in brass, mounted on an 1800s French Coin


Solar panels on the roof?
Perhaps, the hedge does shade the south side, might try a smaller panel and see how well it does