

Roof works
Earlier in the month when I had my strong helper, I commented that it was more important to get the boards on the roof than it was it get it perfect. This was because putting the boards up there by myself would have been a challenge. But we met our 3 objectives of the day: fitting the remaining trusses, adding purlins and fixing the boards on the roof.
So that left me with two key issues. Firstly, some of the boards were really close to the edge of their supports. And secondly there was a big overhang on both sides of the workshop. Although this overhang looked great, it brought the workshop too close to the hedge and fence, access is needed all round for maintenance and hedge cutting.
So the first job was to extend the rafters either end where the lack in of support was worse.
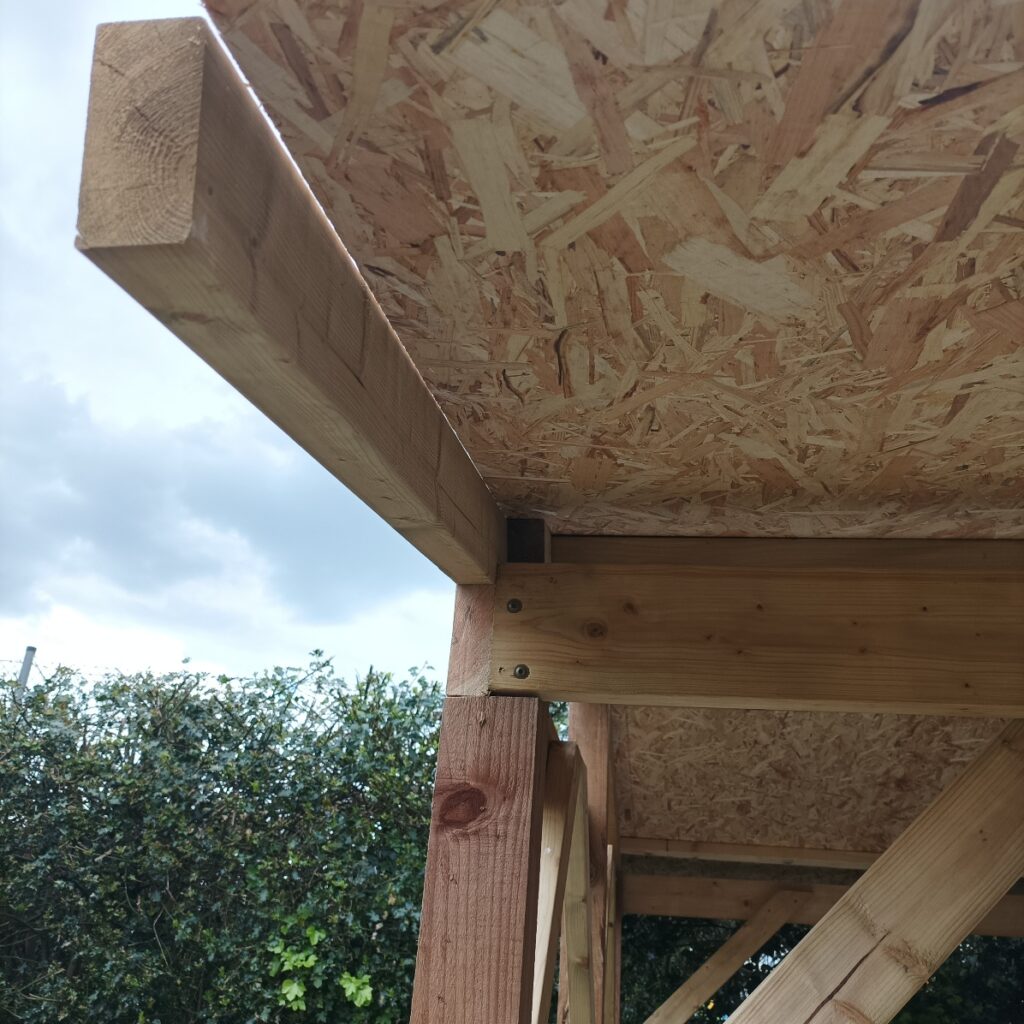
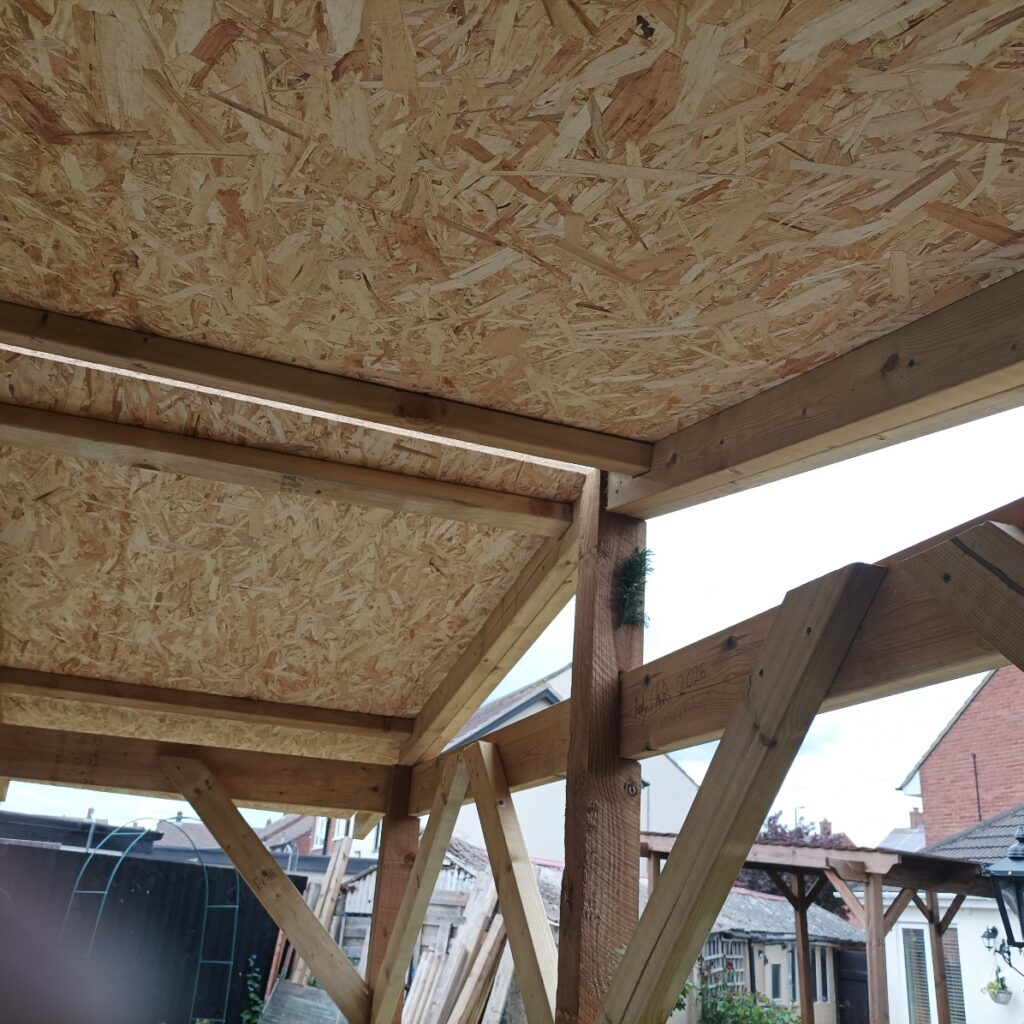
And also to add extra battens to the sides of each of the trusses.
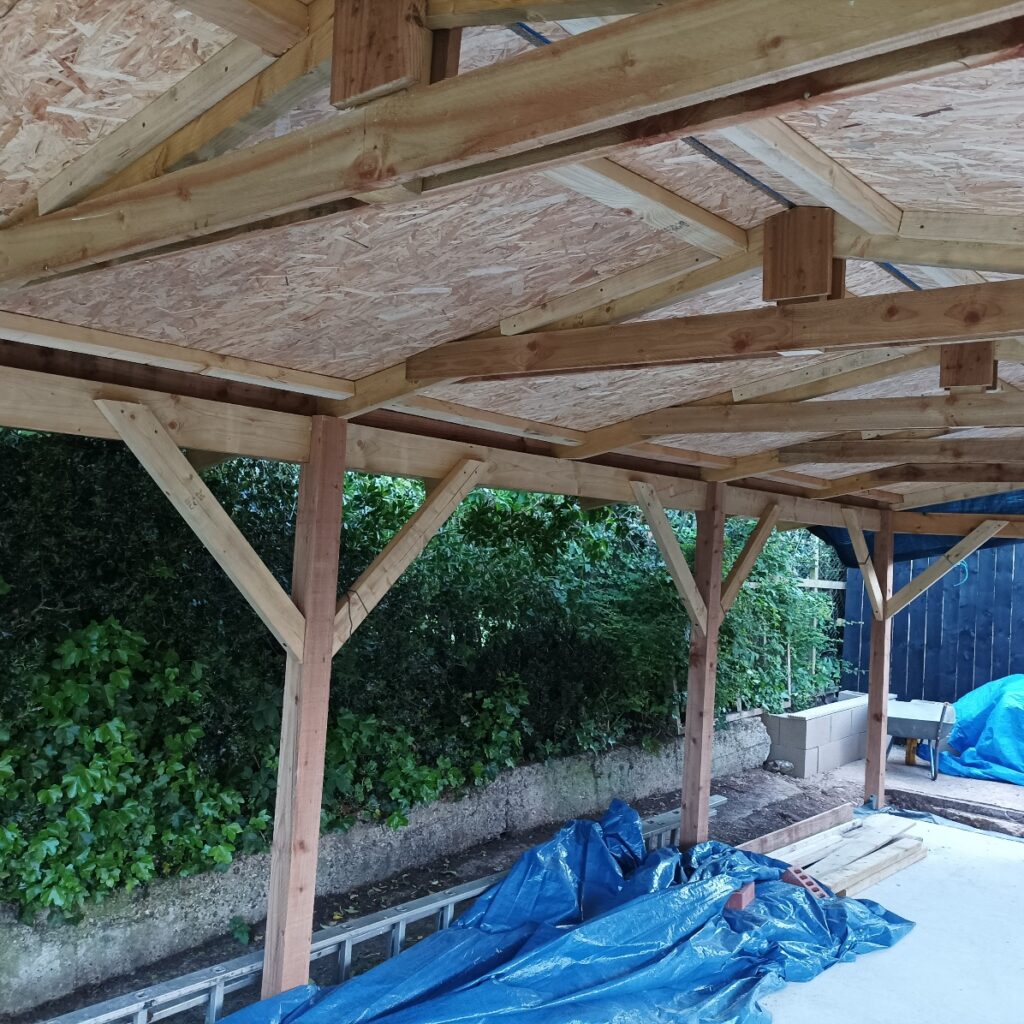
These changes allowed me to screw the boards down using some stainless steel floorboard screws. Which made the whole thing a lot safer for the next steps.
The ends of the roof also needed some battening as the OSB was a little short. So I planed some of the 22mm battens down to 18mm to match the OSB and cut to size. Then screwed in place using the floorboard screws.
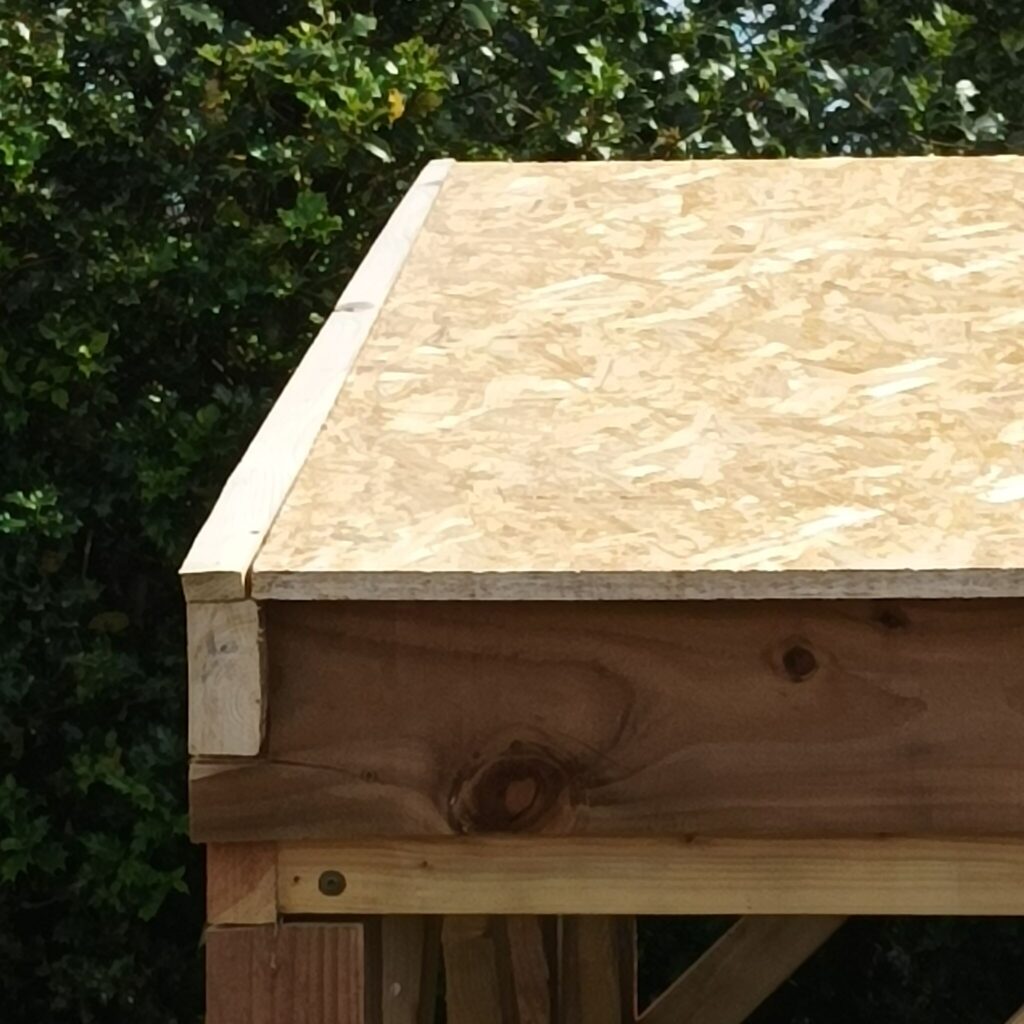
The breathable membrane was cut to length and using the chalk line, slid into place. And fixed with staples. The ends of the OSB were wrapped and stapled underneath. The second sheet required some crawling on the roof hence the significance of theearlier re-enforcement. That too was stapled on place. The top sheet needs the otherside done first so will be left for now.
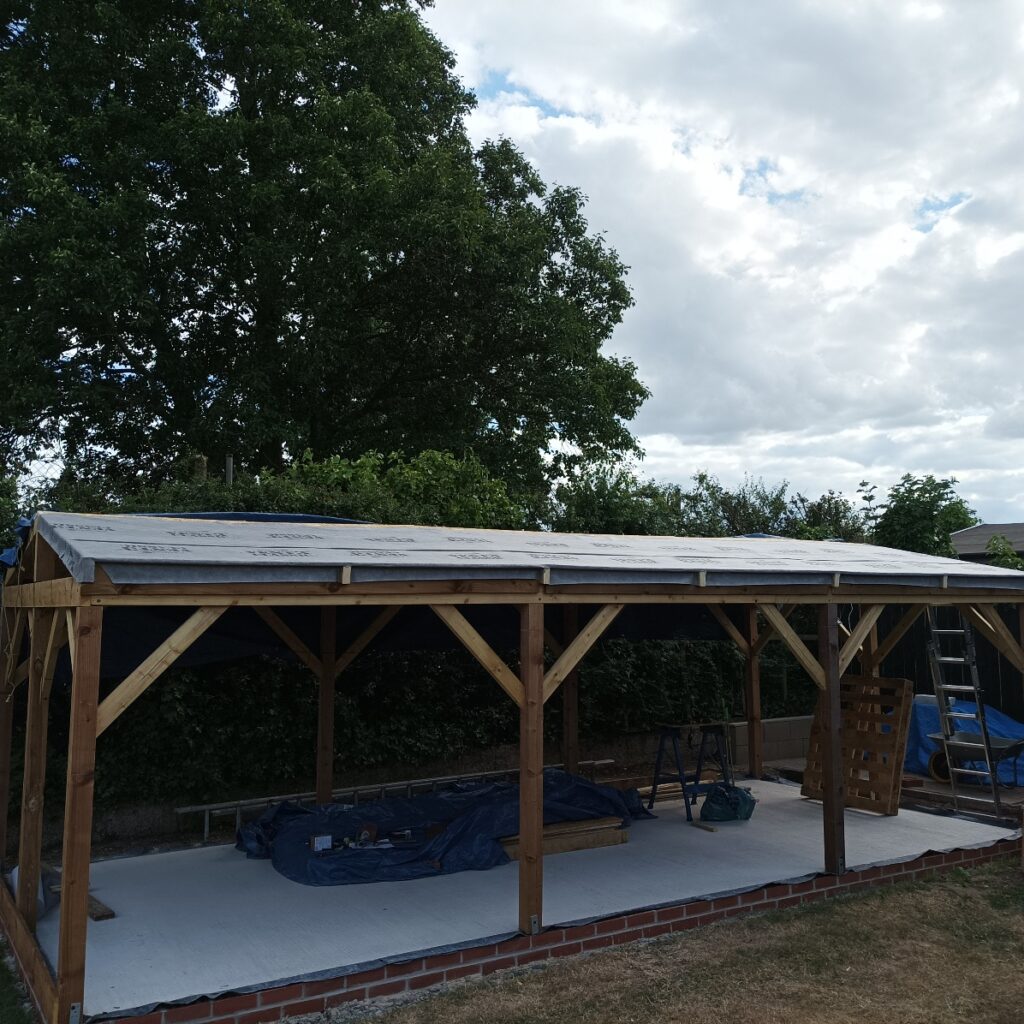
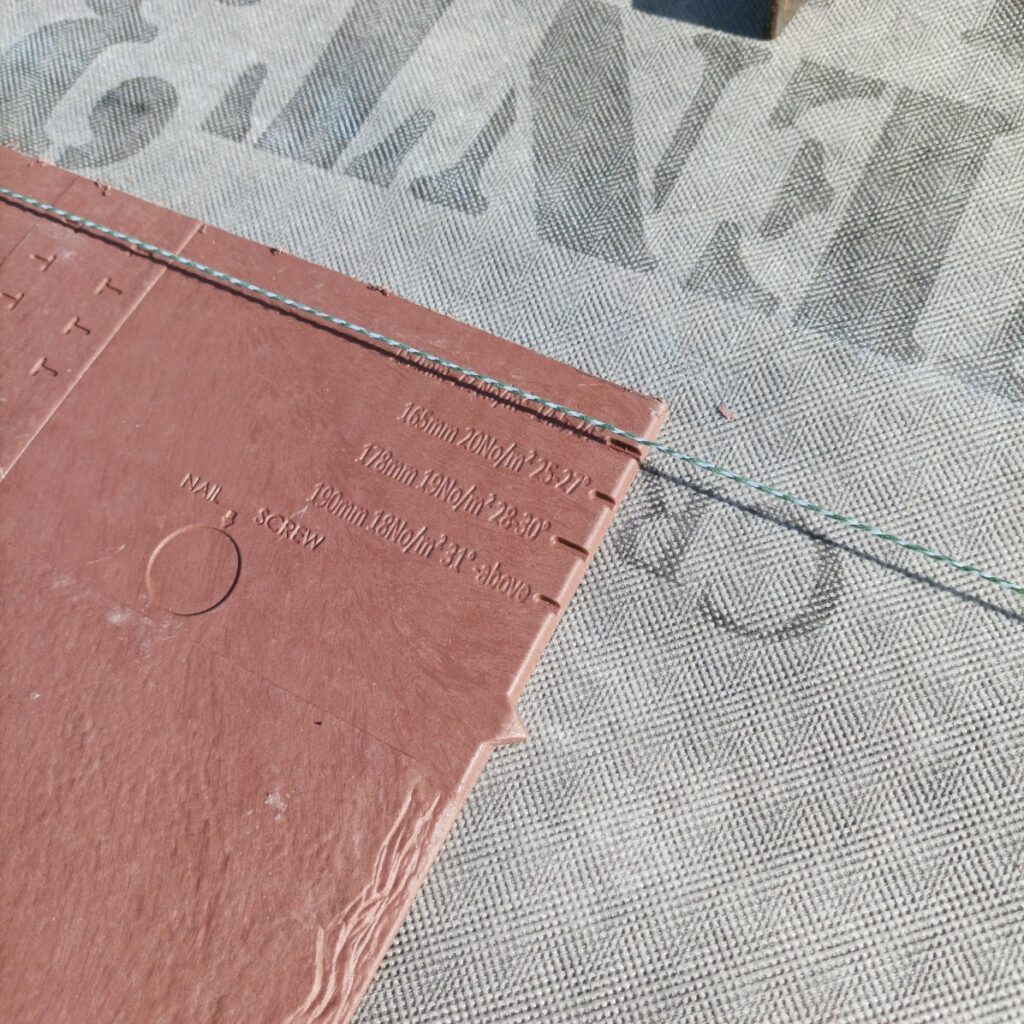
Finally, the front roof was ready for some tiles. But the manufacturer’s recommendation for the first row was to cut these to 305mm. I tried scoring but that was very slow, so I swapped to using a super sharp pull saw. I thought these were pretty much identical until I tried them on the roof. So I adjusted my strategy and set my chalk line to align with the top notch of the tiles. I fitted the cut tiles followed by a second over lapping tile. These were nailed into place
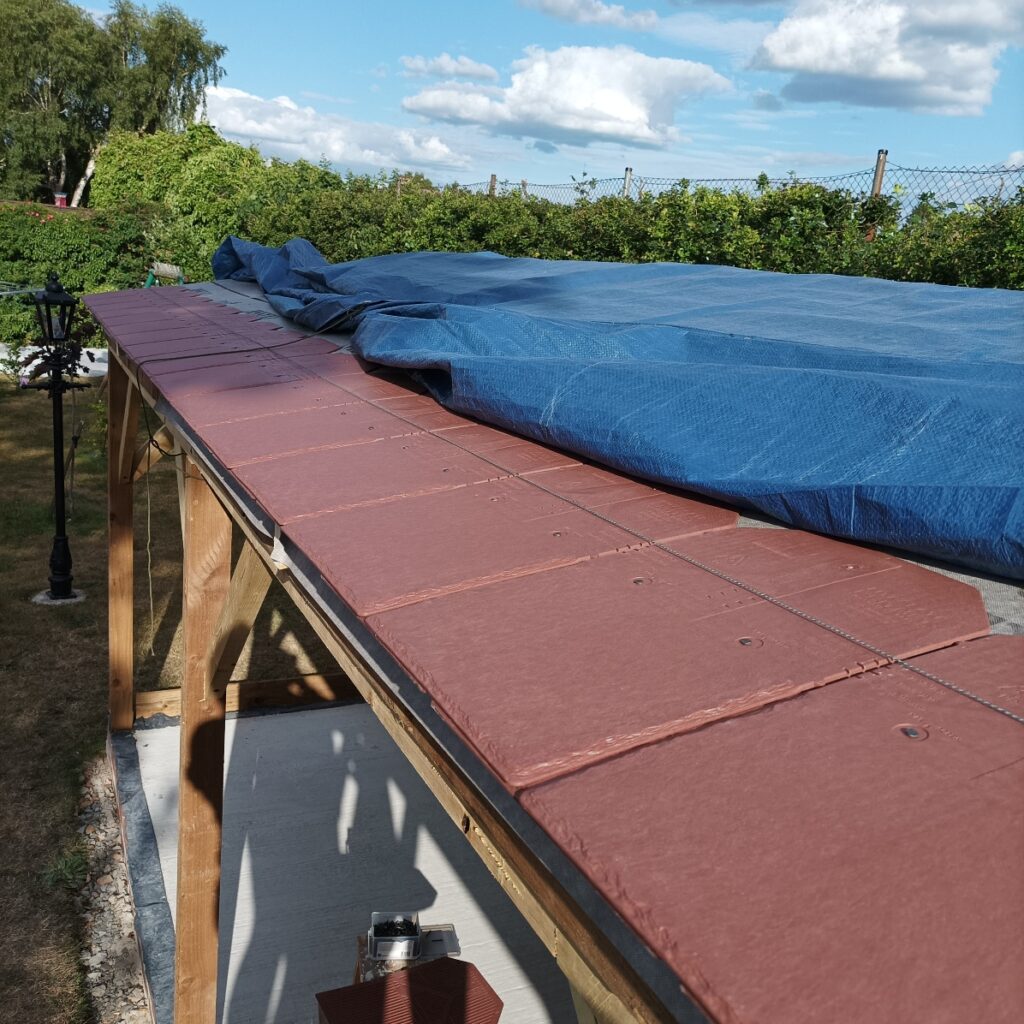
The last tile needed cut to size, so if I start from the opposite end and work back then I should end up with a suitable overlap for the next row. Next steps are more tiles on the front roof, followed by screws, membrane and tiling on the back roof. Once I get to the top there are some special ridge tiles to install.
I’ve also discovered something that will be a really big help when I do the walls. The lumberyard have a cutting service. So not only will that save me a step when doing the walls but the boards will also be a lot easier to carry to the site.
 Posted in: Workshopshed4
Tags: membrane, roof, tiles
Posted in: Workshopshed4
Tags: membrane, roof, tiles




 Metal sculpture in brass, mounted on an 1800s French Coin



Great article! It provides an interesting look at the roofing project and shares useful insights into the planning, materials, and techniques involved in creating a durable and well-built roof.