Workshop Walls
Once the tiling was finished, I took a bit of a break for the summer before starting on the walls.
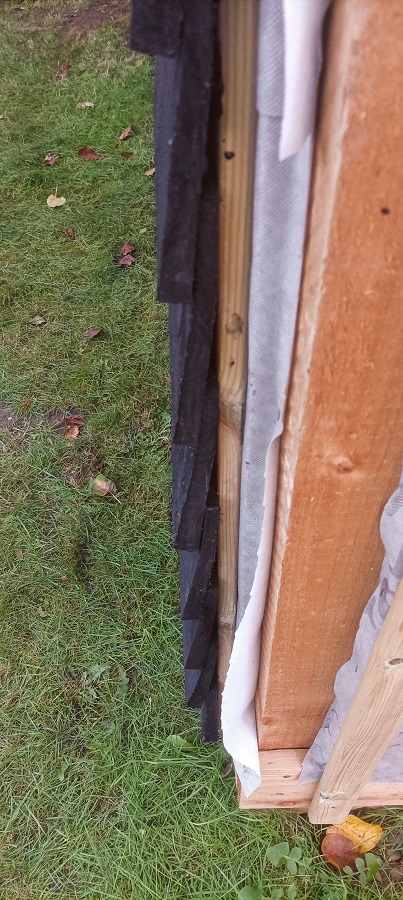
The walls are multi-layered and my main concern was getting the building water tight before winter hits, so the outer walls were the priority. The first step was to add some timber around the base. I filled the gaps in the bricks with postcrete and the screwed the wood down using concrete screws. The builders had provided a DPC when they installed the base so the timber was fitted on top of that. Then some more gravel boards were fixed to the sides of those. Cutouts needed to be made where the metal fixings attached the posts to the base.
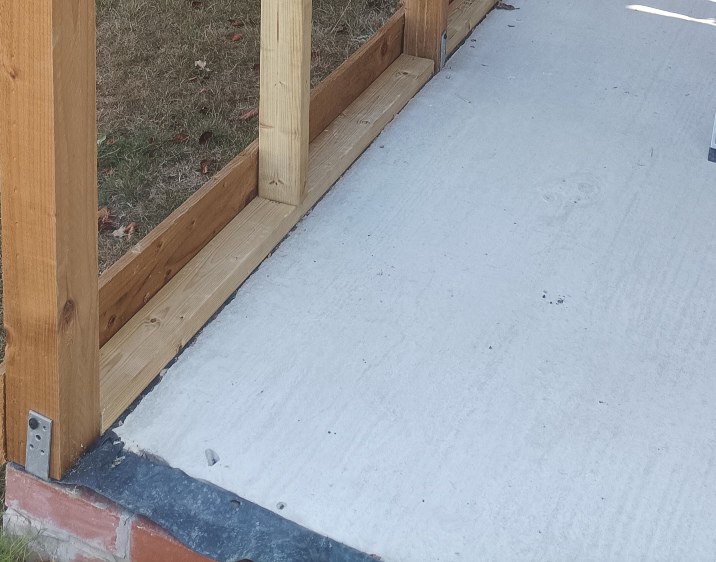
Vertical timbers were added at spacings matching the width of a standard OSB board e.g. 1.22m.
As mentioned on the last shed build post, I asked the lumber yard to cut the boards to length. This made a big difference when carrying them from the truck to the work site. And it also meant I could make up some of the sections using offcuts. The boards were attached with thin self drilling stainless-steel screws.
Given the gaps between sections and between the OSB and the gravel boards, I got some Walther Strong Deck tape from my local builders merchants. It promised to stick to the OSB and it seems to work.
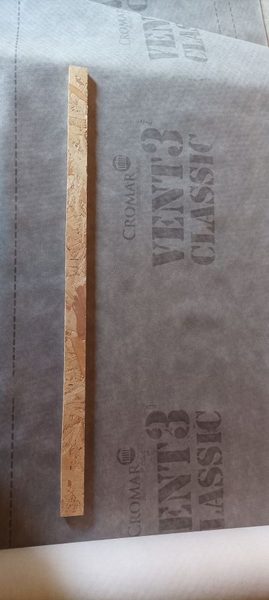
Once the OSB was added, this was wrapped with breathable membrane using staples. To help measure the lengths, I made a simple meter stick rule from an offcut.
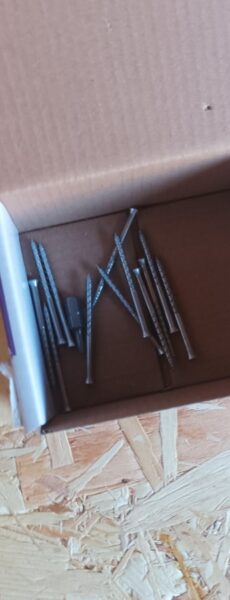
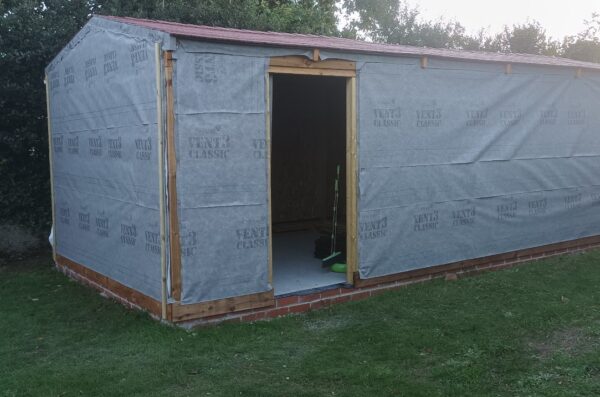
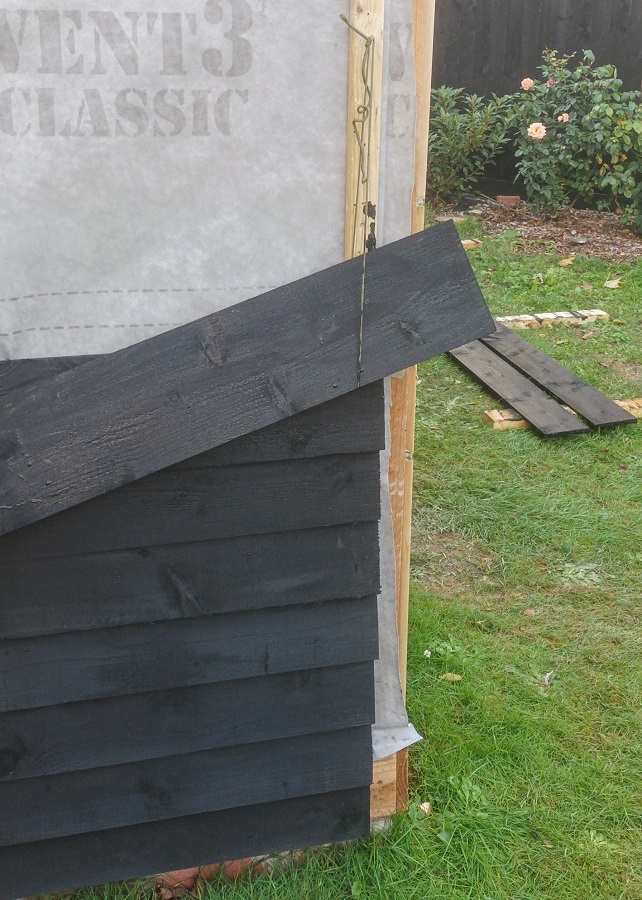
The last steps for the outer walls was to add some battens and shiplap cladding. The shiplap cladding is named after the technique of building boats where the planks are nailed over each other to produce a water tight result. I’ll be adding some trim on the corner to protect the ends of the planks.
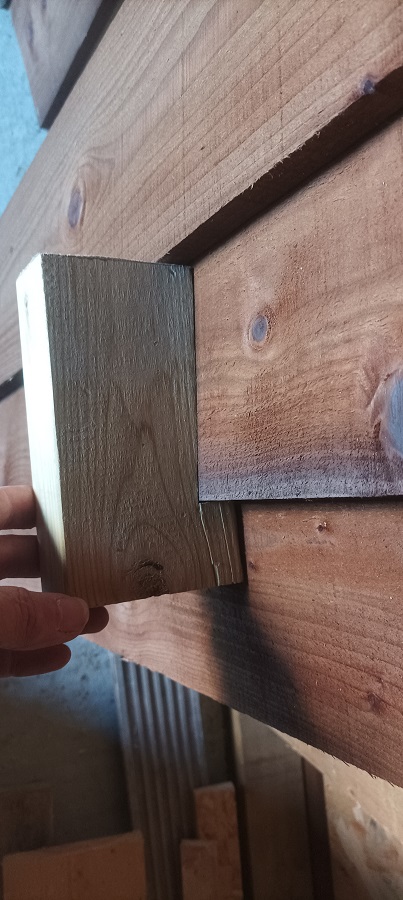
Because the planks were so long, I needed some way to hold them roughly in place whilst I nailed them down. I also needed a way to ensure the spacing was the same for all of the planks. To hold the planks, I resorted to using a nail and a loop of paracord to hold one end. The other end was then fixed in place and then some nails in the middle before removing the loop and nailing the first end. To get the spacing the same for all of the planks, I ensured the first plank was horizontal using a spirit level, then used a simple wooden block with a cutout for the rest of the planks. The tool was held over the existing planks and used to push the new planks into place.
The wood was already treated and I applied a black fence paint to give it a traditional colour.
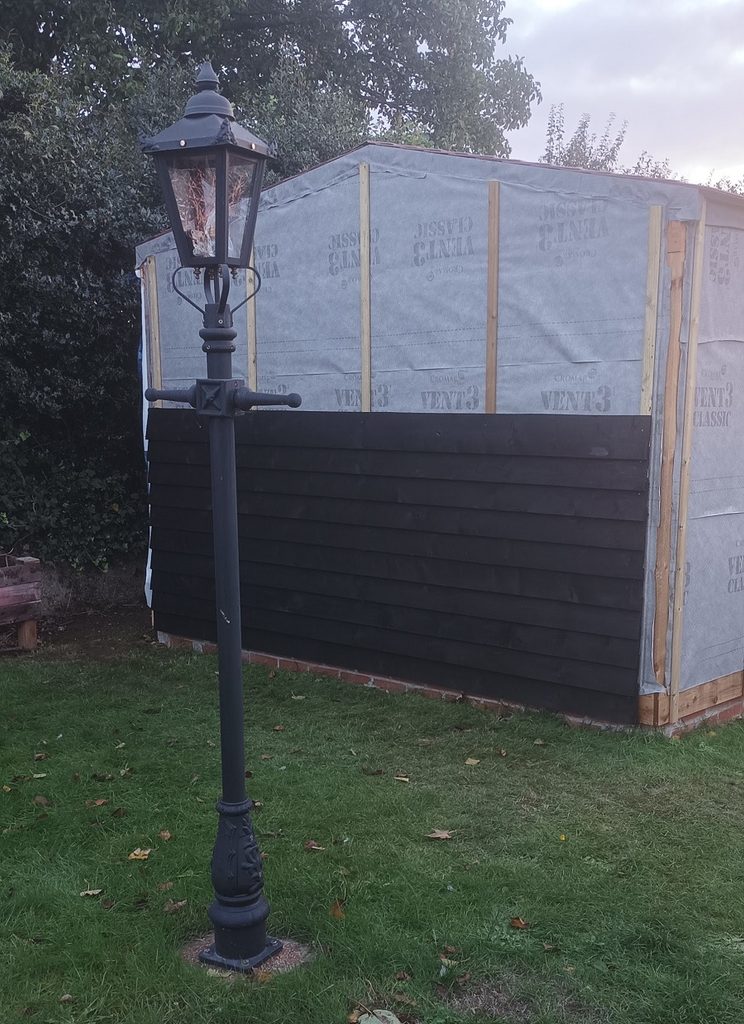
There’s still a lot of cladding to complete and the door to fix before the workshop will be water tight, then I can focus on fitting out the inside.
 Posted in: Workshopshed4
Tags: cladding




 Metal sculpture in brass, mounted on an 1800s French Coin