Portable Desktop Overhead Camera
Last week I gave a talk to the .net Liverpool group about the project to put .net nanoFramework onto the cheap yellow display.
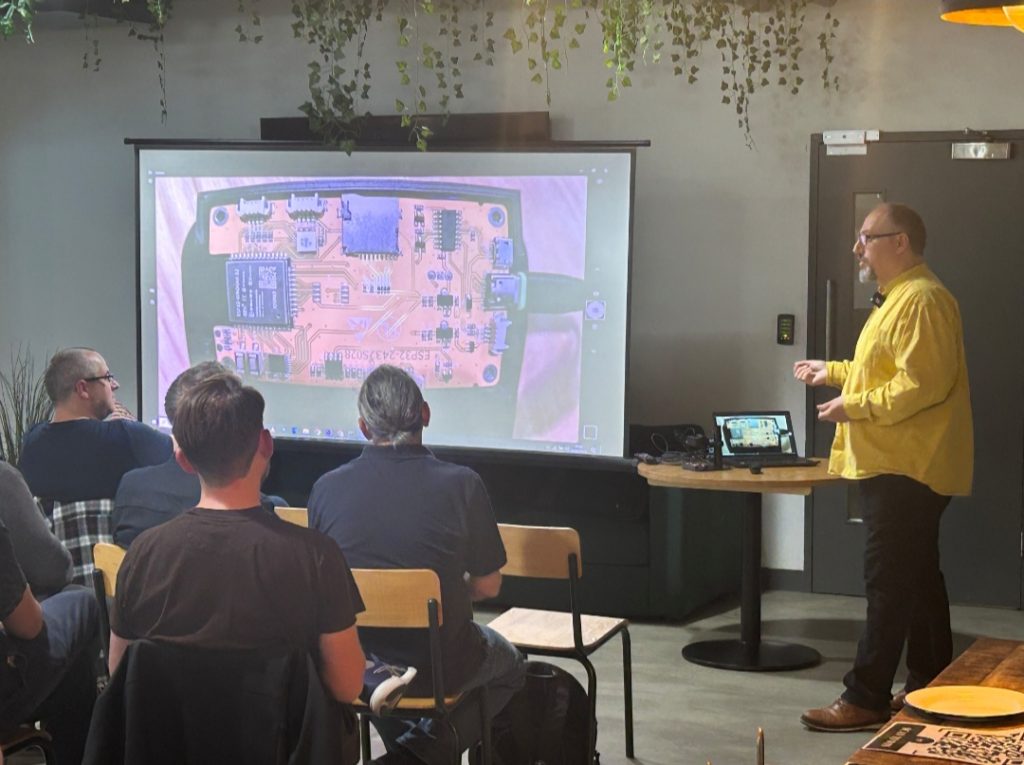
As part of the talk, I wanted to show and explain the board. And as I was doing live demos, static images wasn’t going to be good enough.
I did have a desktop USB microscope but when I experimented with that it was only showing part of the board and was magnified rather too much. However the stand for the microscope was just the right size for my purpose and I realised that could be used with a regular webcam. I’d used a webcam with an overhead camera rig previously and knew that it could be focused quite close by unscrewing the lens slightly. I’ve also experimented with smart phone macro lenses for this although it wasn’t needed in this case.
My secondary issue was not having enough USB ports on the laptop I was using, so I found a small USB hub to use.
I also wanted the board to stay still whilst being filmed. I’ve previously used bluetak for filming but as I wanted to show both sides of the board that could have been troublesome. So I opened up FreeCad and created a tray for the board. And whilst I was at it, I also created a tray for the USB hub which would allow it to stand vertically next to the microscope stand. I added lots of holes to both to allow it to print a bit quicker and to reduce warping. This should also make it easier to remove at a later date as less surface area is glued.
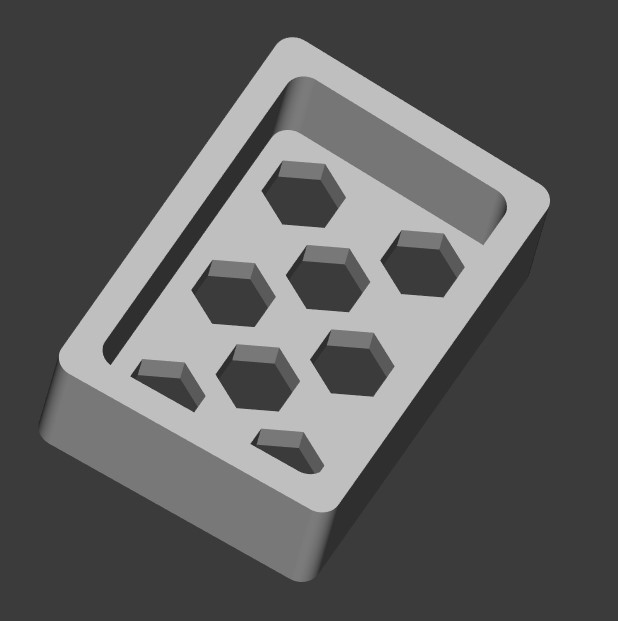
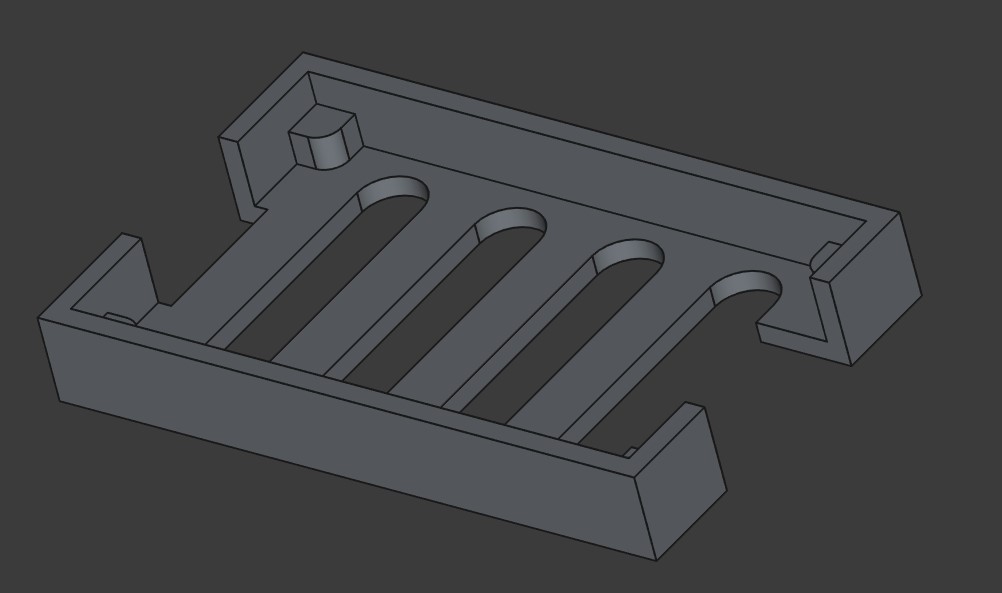
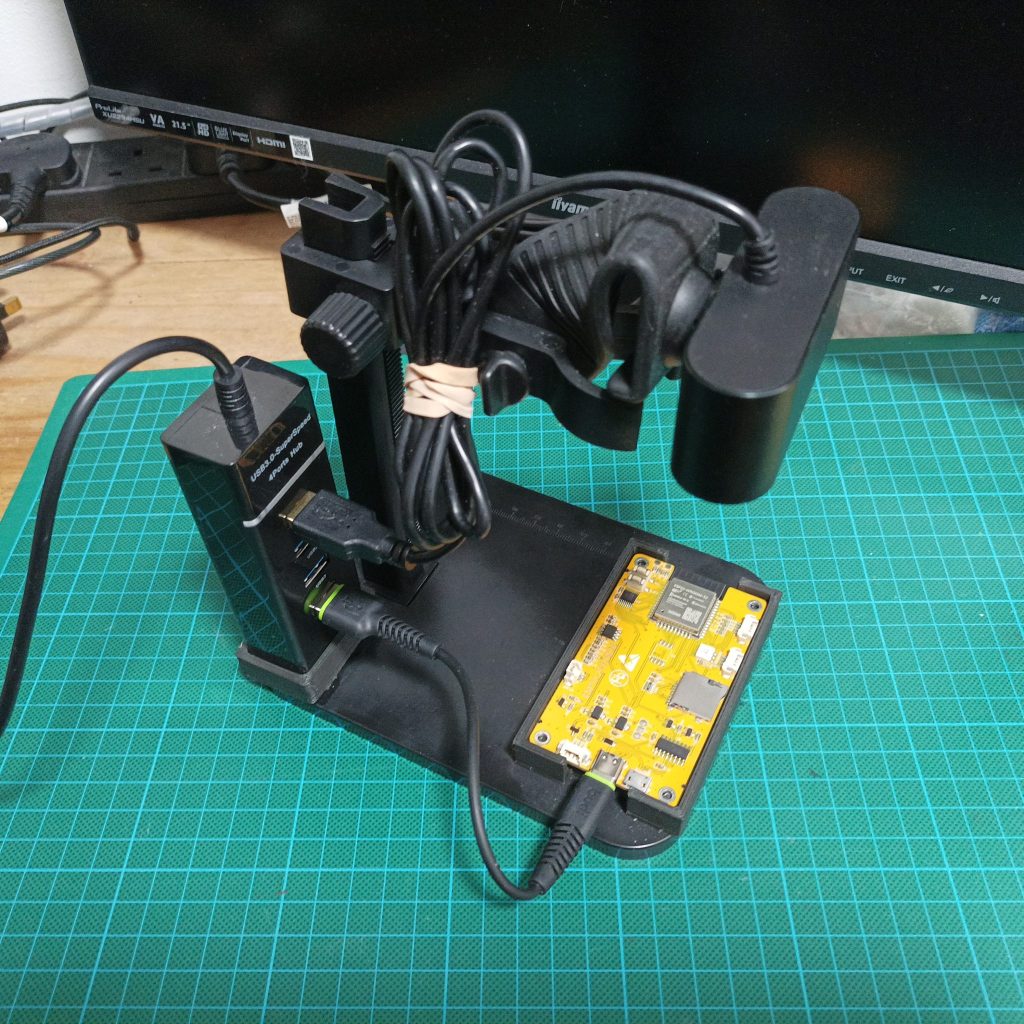
Putting that all together produces.
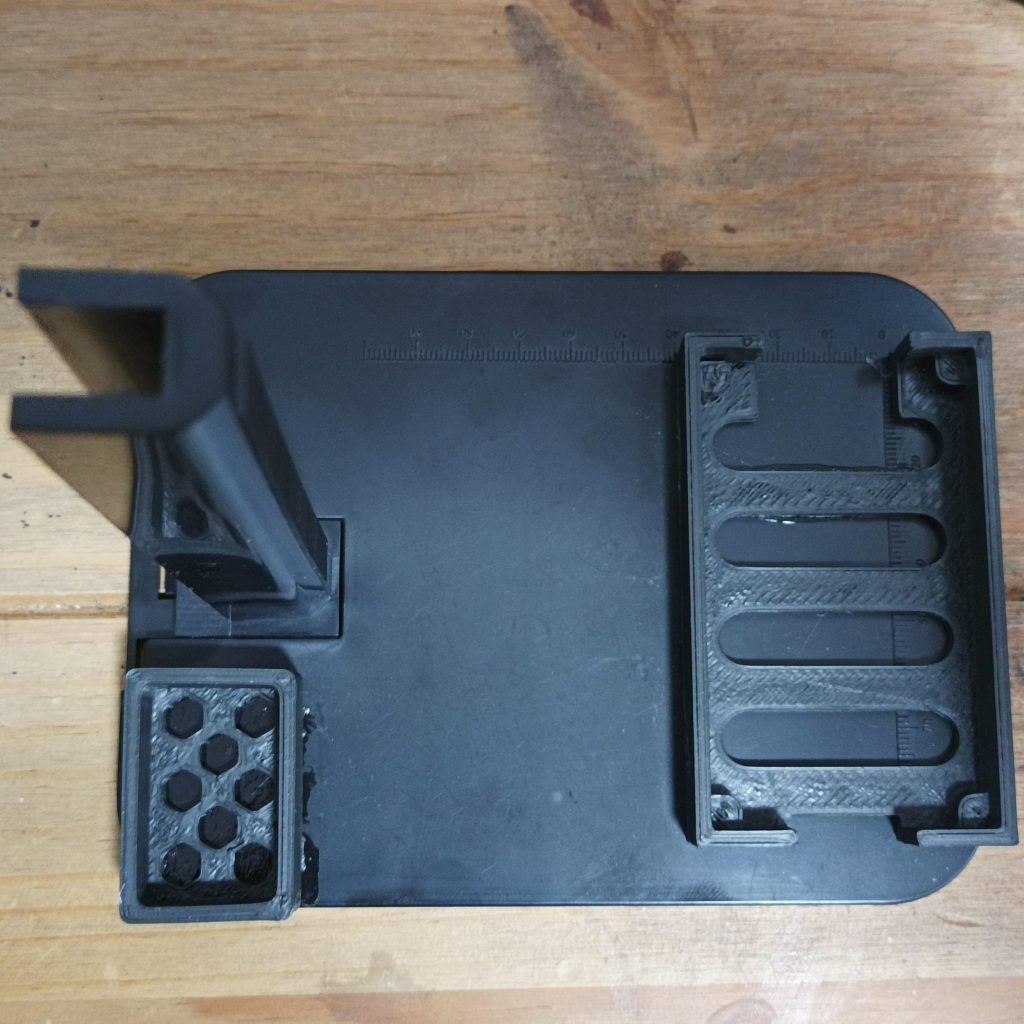
And that can be collapsed down for transporting.
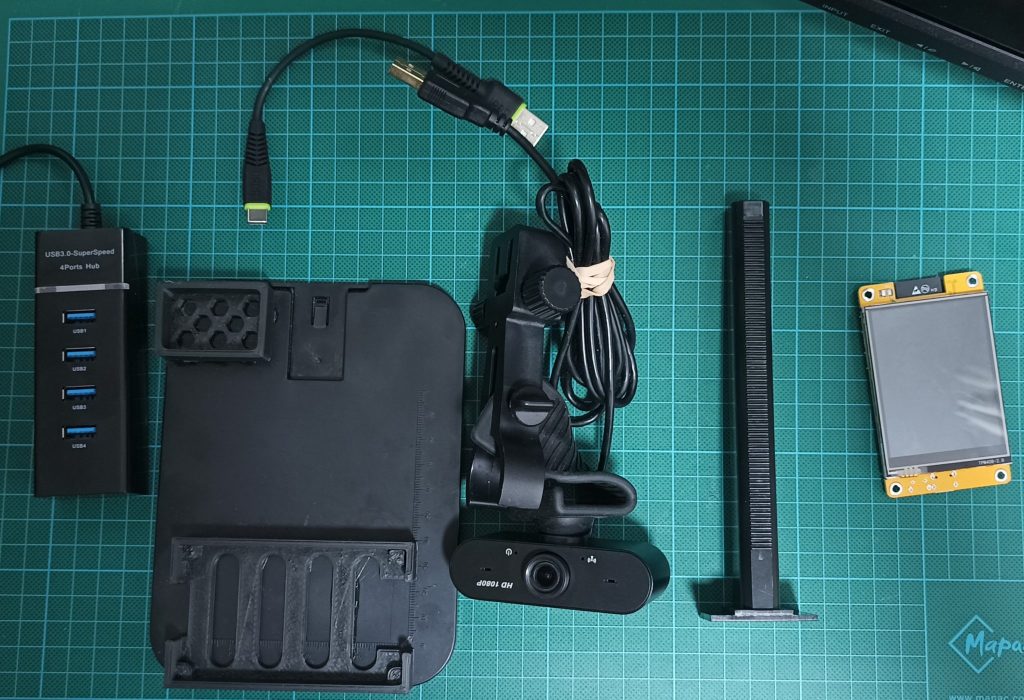
The camera and trays worked perfectly during the presentation but I did need to reboot the USB hub for one of the demos. You can see it in action below.
 Posted in: Portable Desktop Overhead Camera
Tags: 3d Printing, Camera, FreeCAD
Posted in: Portable Desktop Overhead Camera
Tags: 3d Printing, Camera, FreeCAD




 Metal sculpture in brass, mounted on an 1800s French Coin